Install Contao - Quick start
We assume here that you want to install either the latest version or the Long Term Support Version with the Contao Manager. This is the easiest and recommended way for beginners. Some hosting providers offer 1-click installations. However, for the best user experience, we recommend using the Contao Manager or the console.
Hosting configuration
You configure the hosting via the admin panel of your hosting provider.
Root directory (document root)
Your provider will usually give you a folder where you can store your websites - this is often a /www, /public_html or /httpdocs
folder. There you can install Contao for your new website. It has proven useful to first create a subfolder in this
path, e.g. /example for the page example.com - this is then your installation or project folder.
In Contao, all publicly accessible files are located in the /public subfolder. Create a folder called public and
set the root directory (document root) of the installation to this subfolder via the admin panel of the hosting provider
to this subfolder.
Example: example.com points to the directory /www/example/public.
Database
Contao requires a MySQL database for operation, which you should ideally create right away. Its login credentials will be needed later.
Installing the Contao Manager
The Contao Manager consists of a single file which can be downloaded from
contao.org. After a successful download you will receive a file called contao-manager.phar.
Transfer this file to the public directory on your web server.
.phar files are not executed by all hosting providers. For best compatibility, add the .php file extension
after the upload (i.e. rename the file on the server to contao-manager.phar.php).
Call Contao Manager
Now call up the URL www.example.com/contao-manager.phar.php with your browser, replacing www.example.com with your domain.
You should see the welcome page of the Contao Manager.
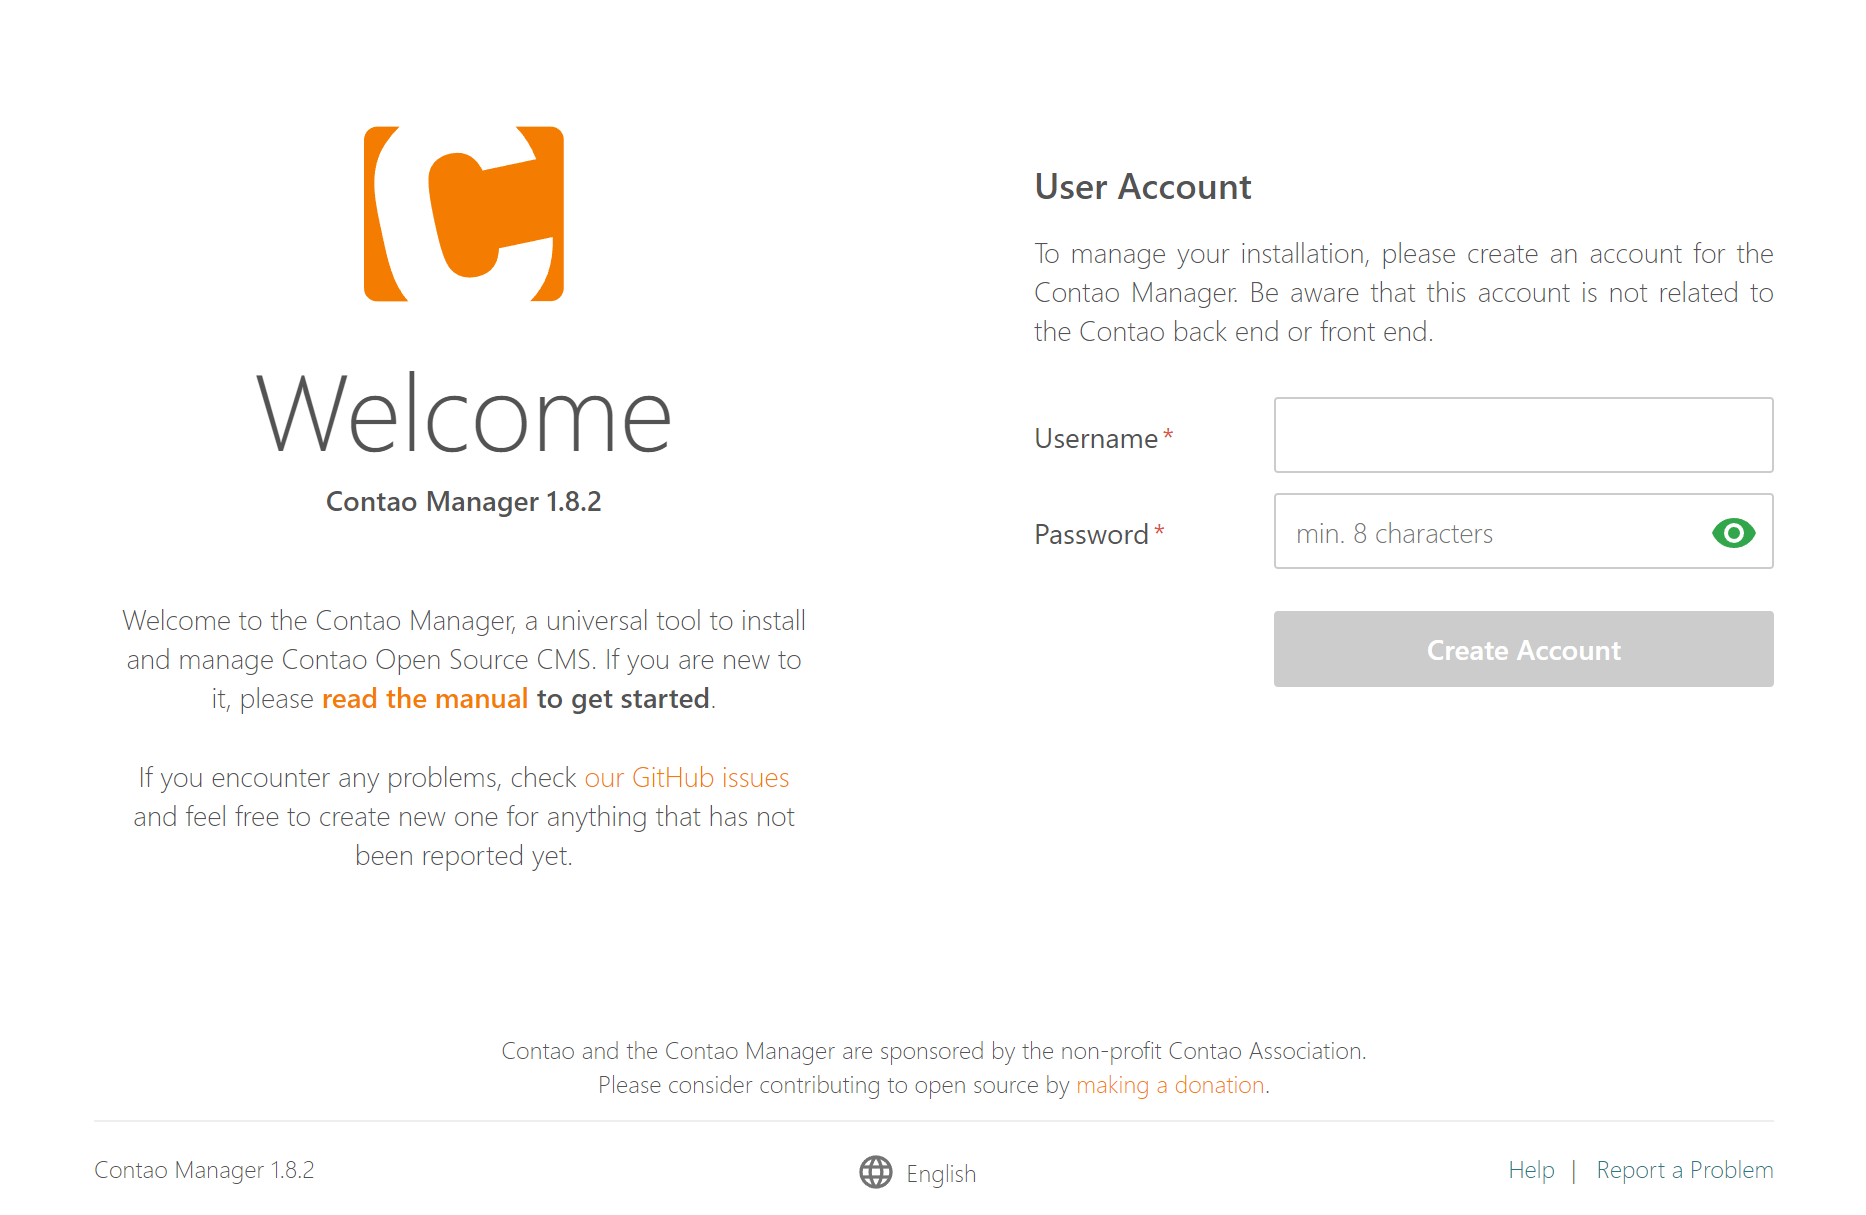
Basic configuration
Before you install Contao you need to configure the manager itself. To do this create a new user by assigning a username and password. Username and password are independent of the later Contao installation!
Server configuration
The Contao Manager needs the path to the PHP binary and other server information to run background processes correctly. Usually, this information is detected automatically.
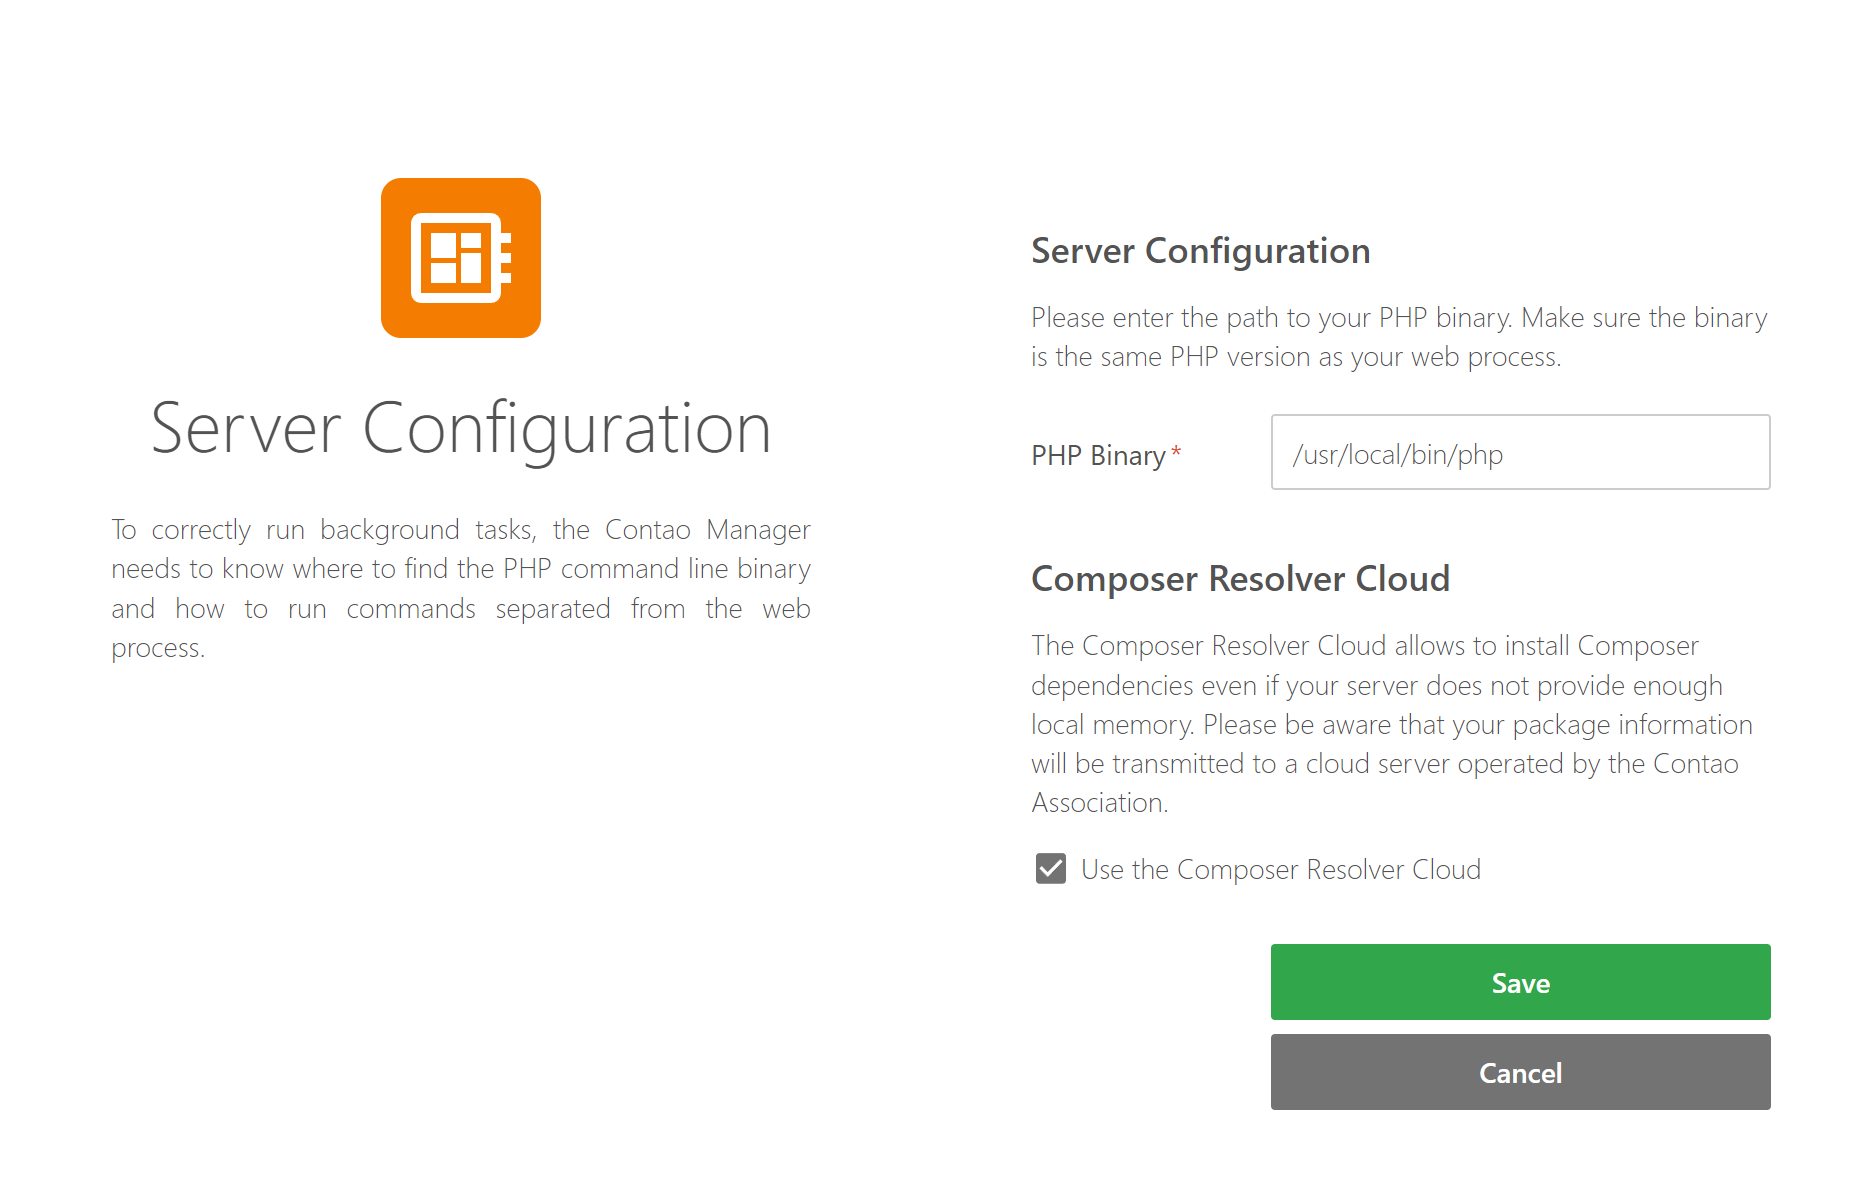
Composer Resolver Cloud
The Composer Resolver Cloud allows the installation of Composer dependencies even if the server does not have enough memory. Please note that your package information is sent to a Contao Association cloud service for dependency resolution.
Installing Contao with the Contao Manager
After the successful basic configuration, Contao can now be installed. To do this, select the desired version and the initial configuration and click on the “Install” button.
Optionally, you can also install the Contao “sample website”.
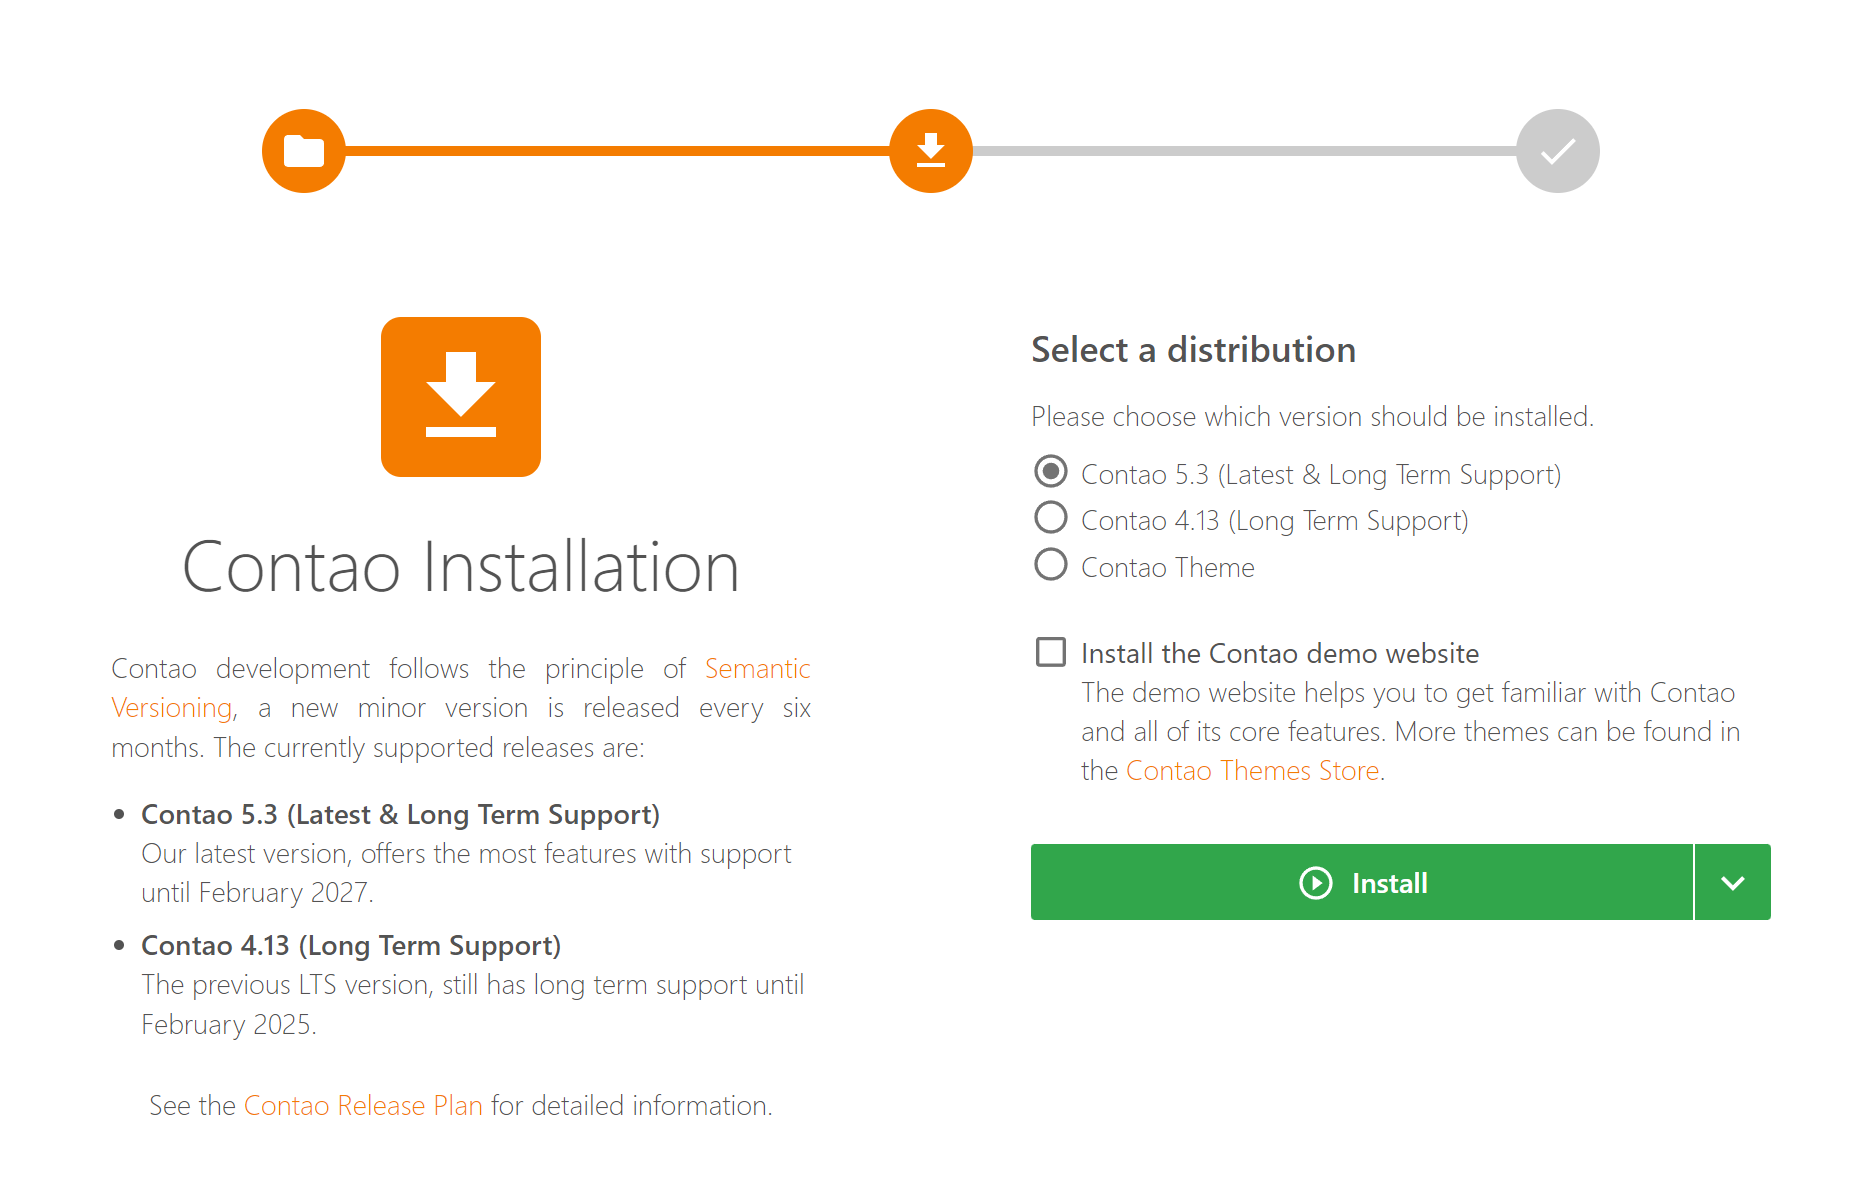
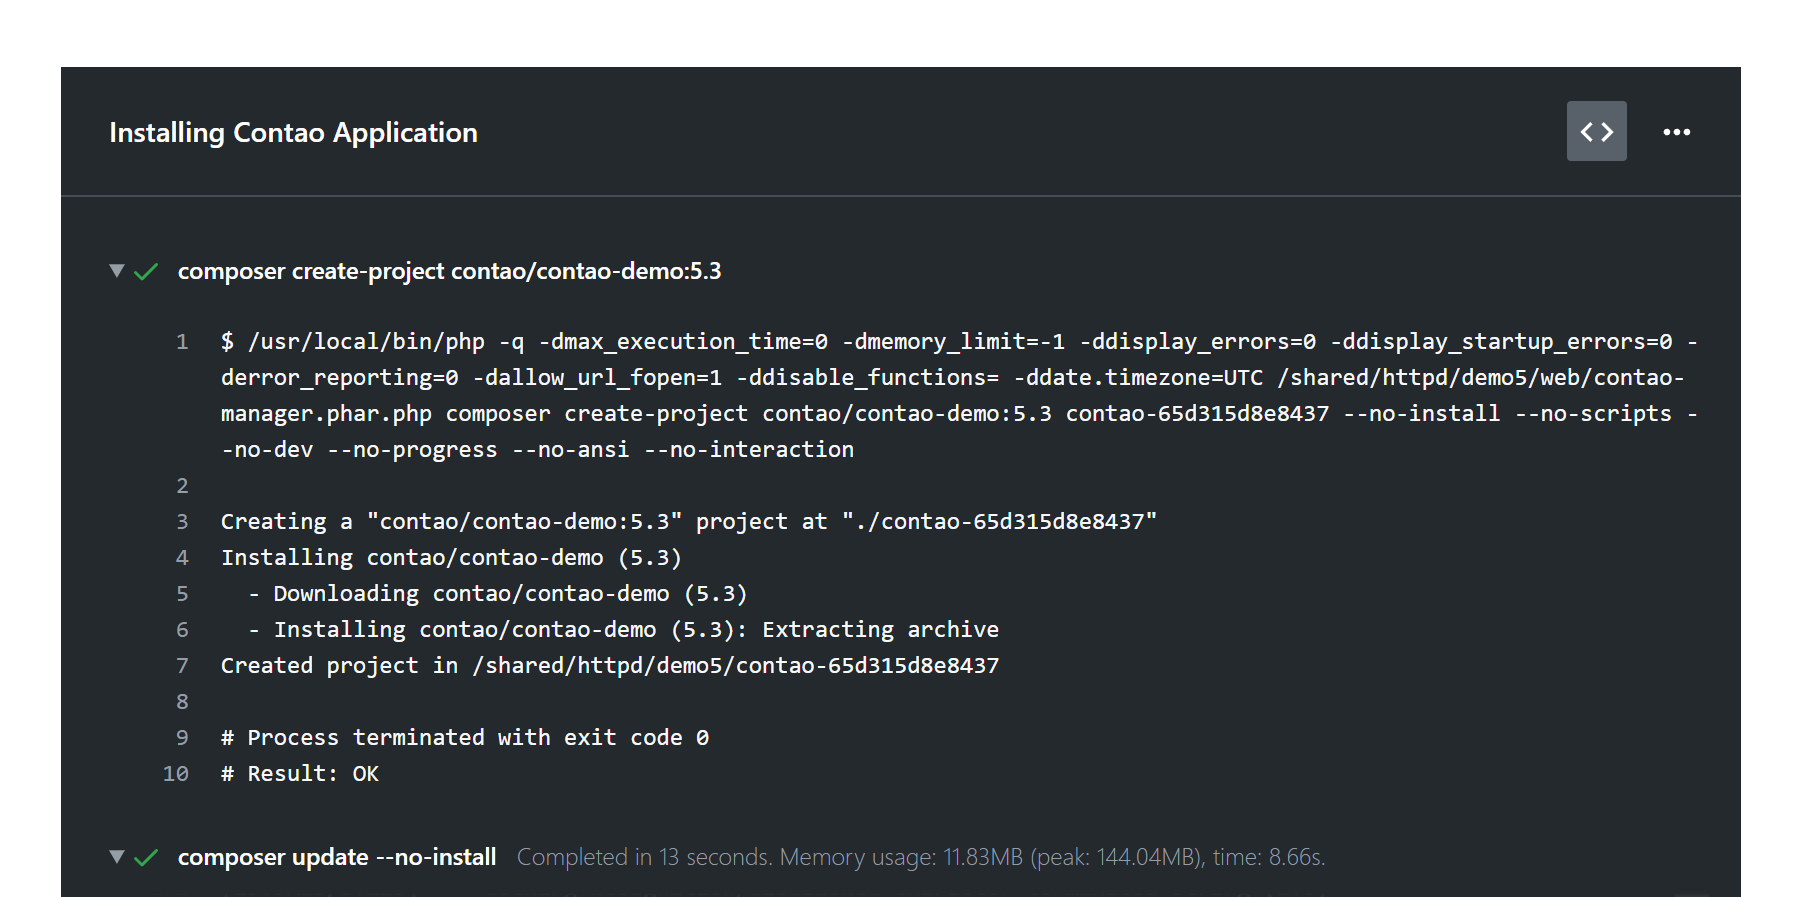
The installation may now take several minutes. Details of the installation process can be viewed by clicking on the following
icon ![]() .
.
Updating database tables
Once the Contao Manager has installed all packages, the database needs to be updated. To do this the Contao-Installtool has to be started (Contao 4.13 LTS) or the required information has to be entered directly in the Contao Manager (Contao 5.x).
Create an administrator account
Finally, you need to create an administrator user with which you can log in to the Contao back end later.
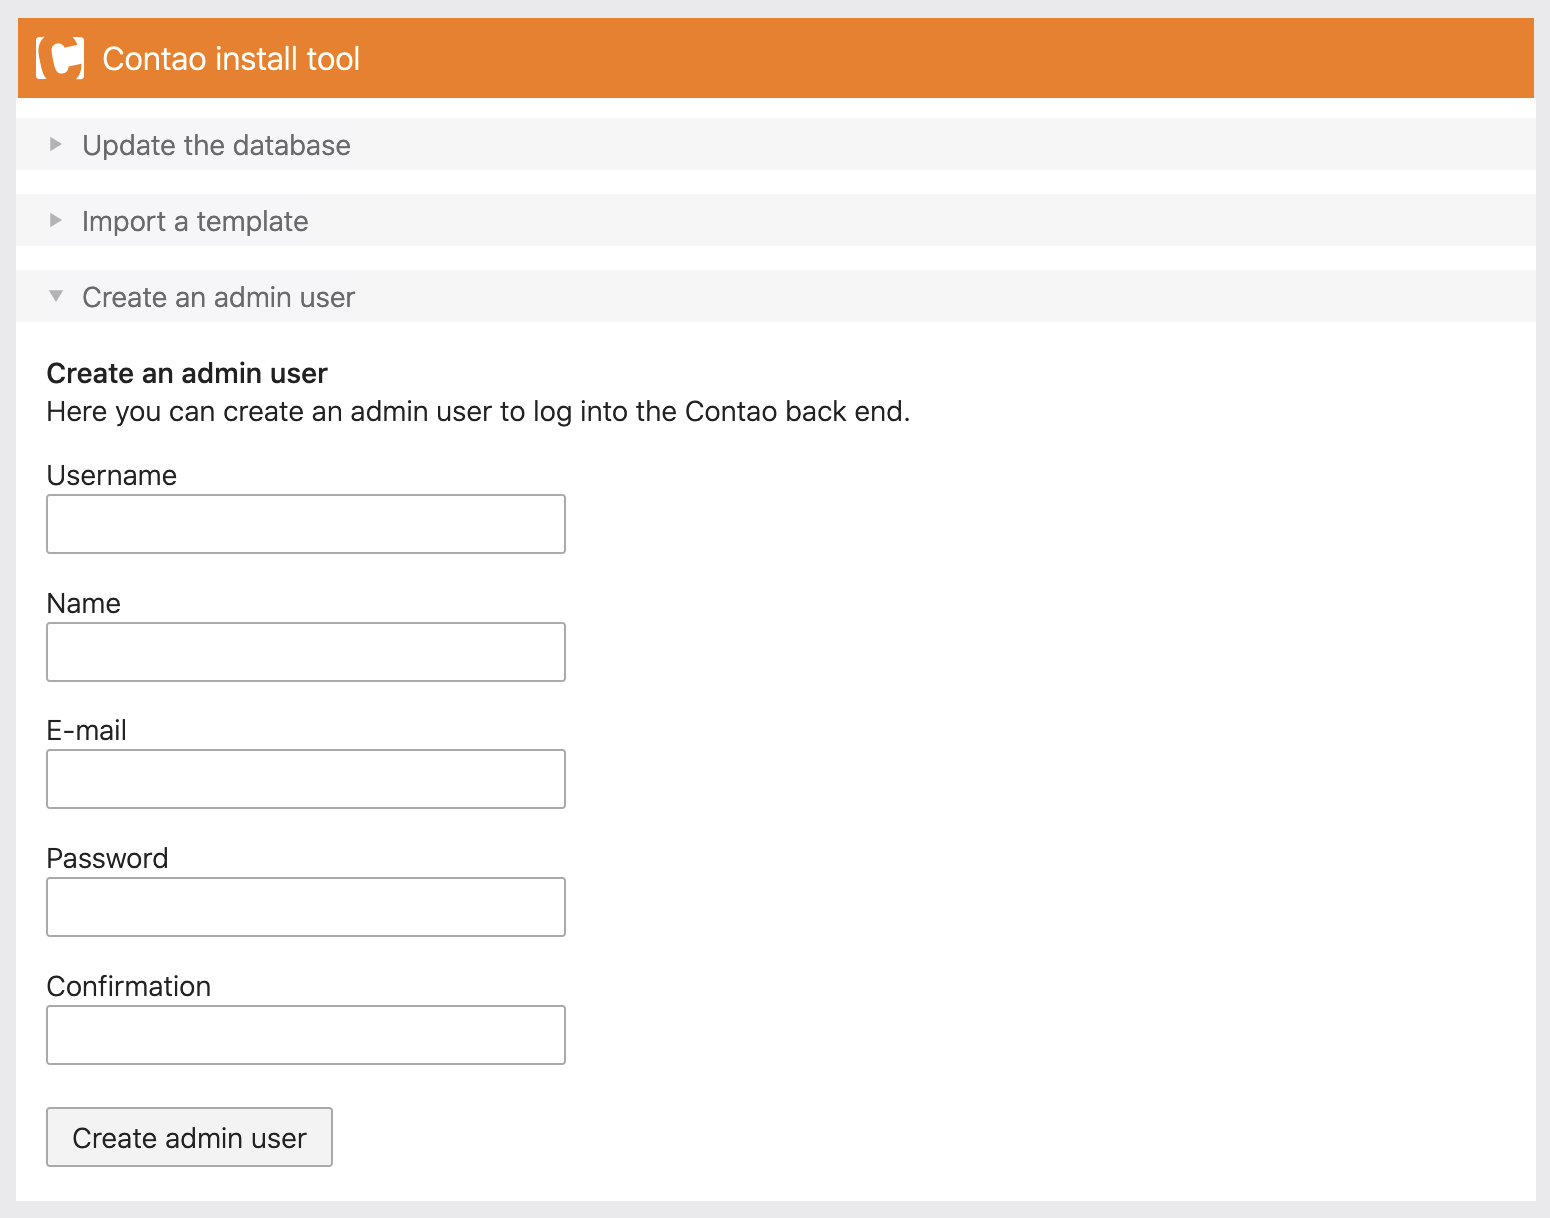
User name: Here you define the user name of the administrator.
Name: Here you enter the first and last name of the administrator.
E-mail address: Here you enter the e-mail address of the administrator.
Password: Here you set the password of the administrator and confirm it.
After you have created the administrator user, the installation of Contao is complete.
The link at the bottom right will take you to the back end. There you can create
the first start page.