Move Contao
Moving a Contao installation from one location to another (e.g. from a local installation to a live server) is almost the same as installing but also includes transferring the existing database and application related files.
To reduce the risk of conflicts, make sure your source and target server both run the same PHP version.
Transferring the database
Export the database (source)
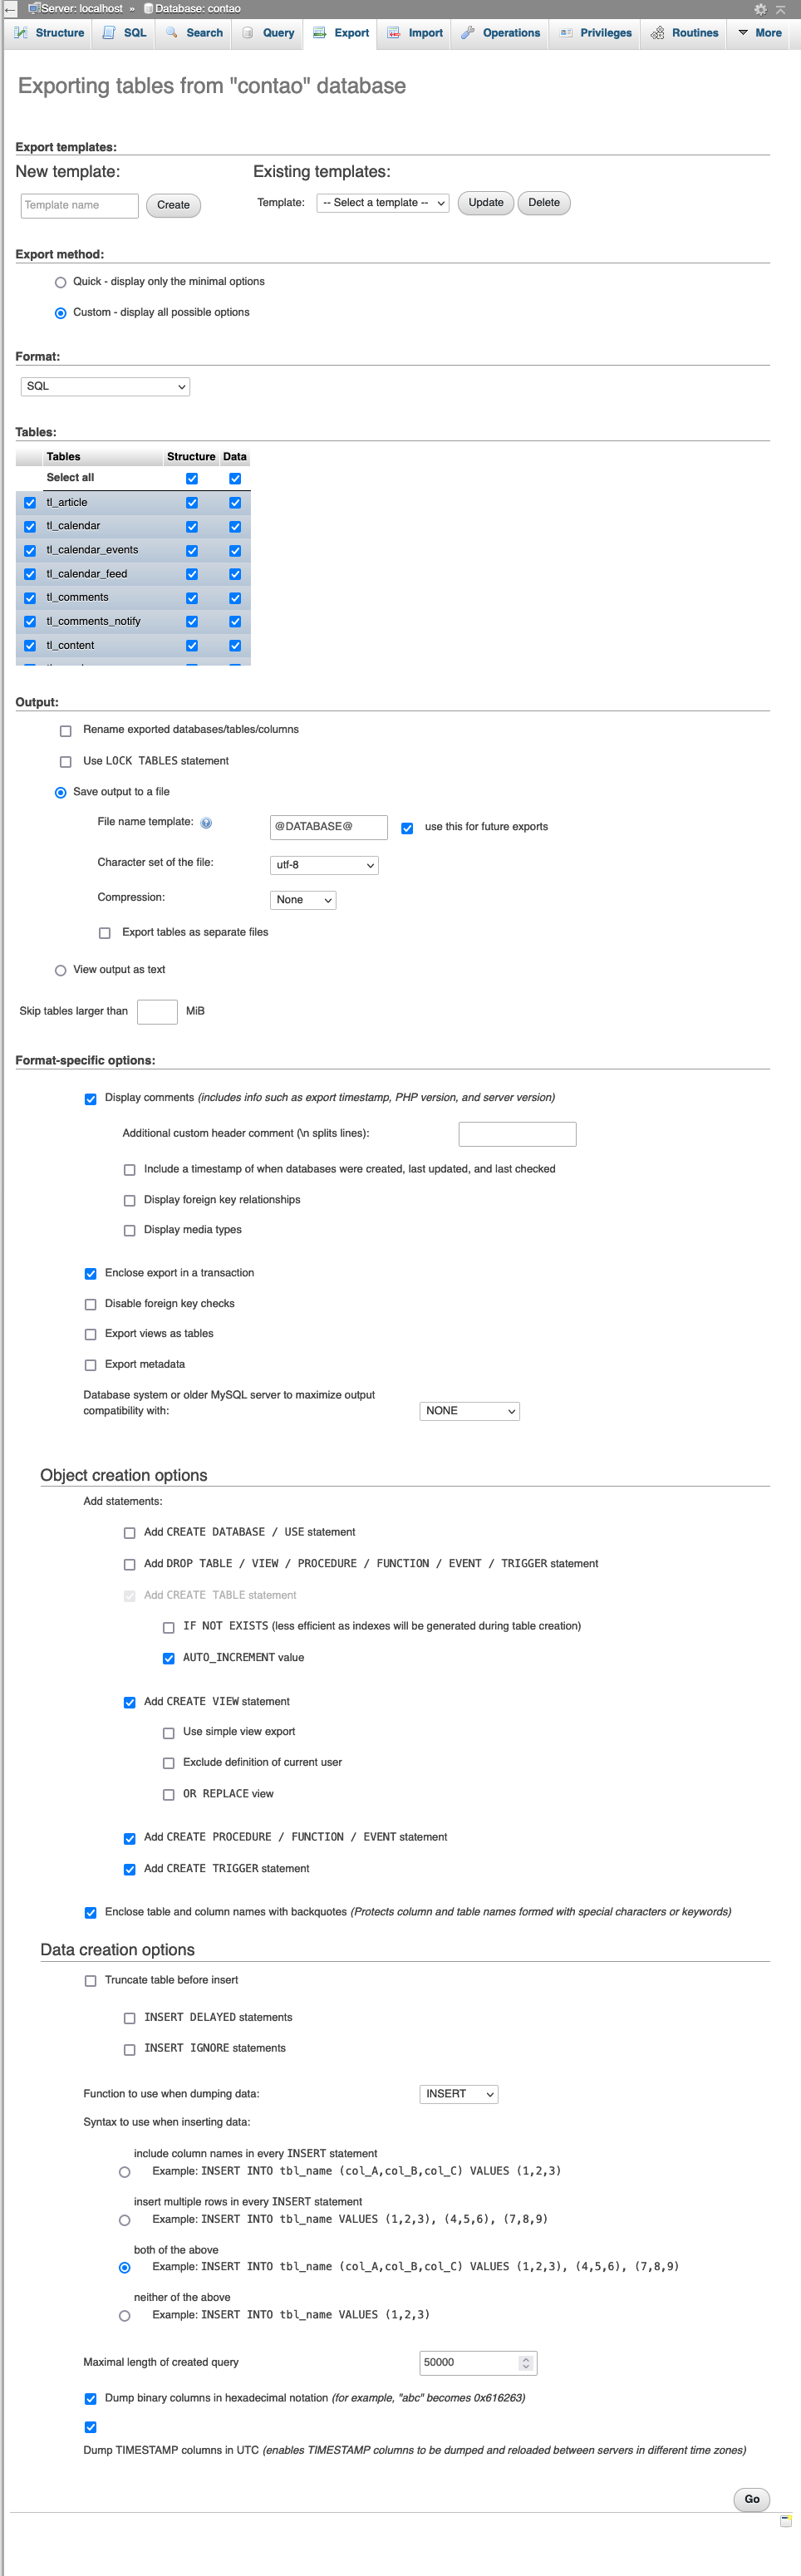
You can either create a SQL dump with the graphical database administration tool phpMyAdmin
or use the mysqldump program from the command line.
Log into “phpMyAdmin”, select the database you want to export, select the “Export” tab in the upper menu and click “Ok”.
You will receive a sql file that you can import in the next step.
Make sure mysqldump and gzip is installed, then run the following command (replacing “my_user” and “my_db_name” with
your database user and database name):
mysqldump --host=localhost --user=my_user --password --hex-blob --opt my_db_name | gzip -c > my_dump.sql.gz
Enter your database password if asked for.
A my_dump.sql.gz file containing the dumps will be saved in the current directory that you can use in the next step.
Import the database (target)
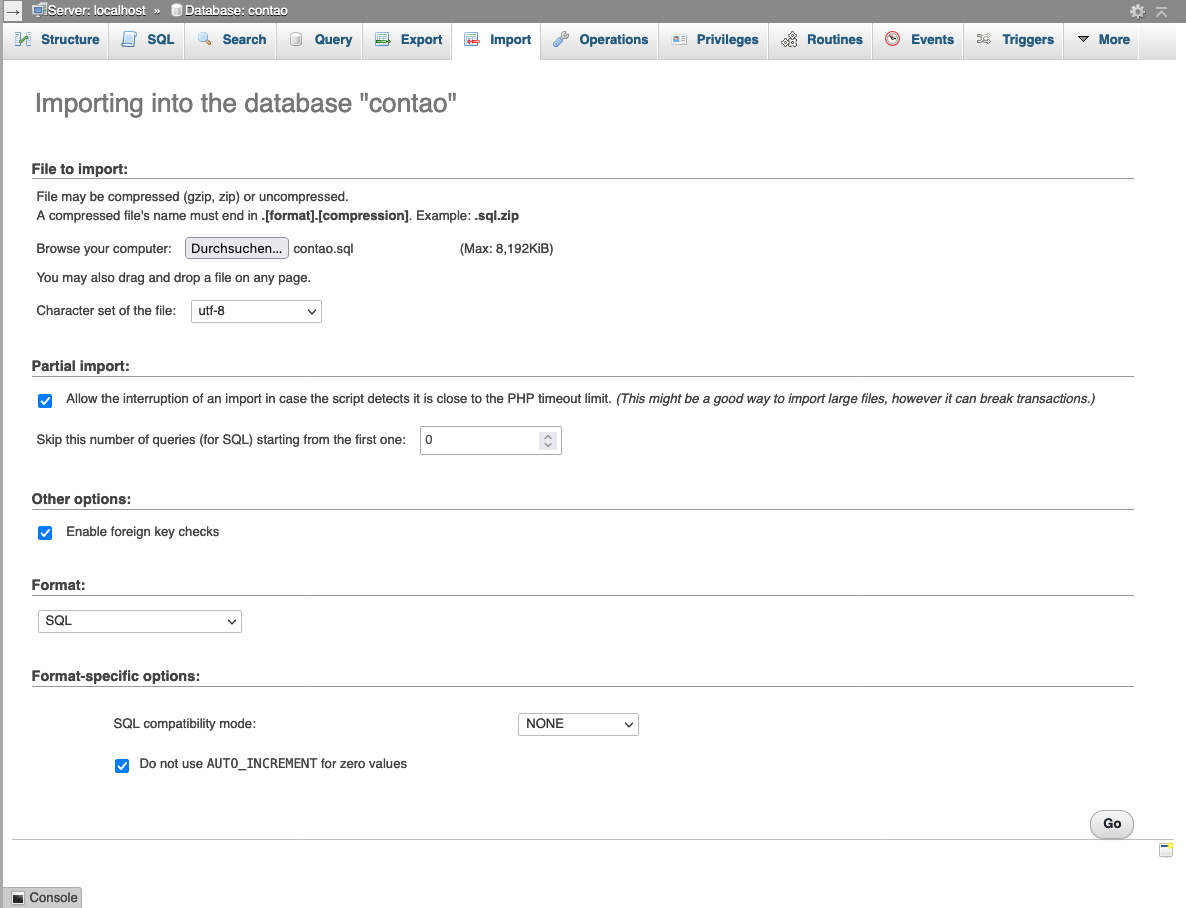
Open “phpMyAdmin” and select a new (empty) database.
Click on the “Import” button in the upper menu, upload the previously created SQL dump and start the import.
Copy the previously created dump file to the target machine and navigate to it.
Make sure mysql and gunzip is installed, then run the following command (replacing “my_user” and “my_db_name” with
your database user and database name as well as “my_dump.sql.gz” with the appropriate file name of the copied dump.):
gunzip < my_dump.sql.gz | mysql --host=localhost --user=my_user --password my_db_name
Enter your database password if asked for.
Transferring the files
The following files and folders need to be transferred from the source to the target machine.
files(your files)templates(your templates)composer.json(wished dependencies)composer.lock(actually installed dependencies)system/config/localconfig.php(your preferences)
The following files and folders need to be transferred from the source to the target machine, if applicable.
config(or before Contao 4.8app/config/)contao(or before Contao 4.8app/Resources/contao/src.env*
If you still have old extensions within system/modules/ or if you have old configurations in the directory
system/config/, then they have to be transferred as well.
You can use an FTP client for this task or, if you prefer the command line, use scp:
cd /path/to/project

scp -r files/ templates/ composer.json composer.lock your_server:/www/project/
Installing Contao
-
Make sure you have correctly set up your hosting configuration.
-
Then we let Composer do its work – as we also transferred the
composer.lockfile containing all package version details from the original server, Composer will replicate the identical state as before.To do so, either use the Contao Manager or the command line like you would with a regular installation.
-
Run the install tool to configure the new database connection.
That’s it! You’re now ready to use your Contao installation on a new location.