Edit Records
One of the main tasks of a CMS is to make it easy to edit record. The following options in Contao make data editing easier and get you to your goal faster.
The sticky tab navigation list
This feature is available in Contao 5.3 and later.
If the record set to be edited is very long and divided into individual sections by legends, you previously had to scroll down endlessly (e.g. when setting up a user group). This is now a thing of the past, as the sticky tab navigation list. This navigation list is automatically created from all legends in a record set.
The Picker
The picker is used in many different places and has therefore become an essential tool in Contao.
Here are a few examples:
When inserting or editing a link in a content element
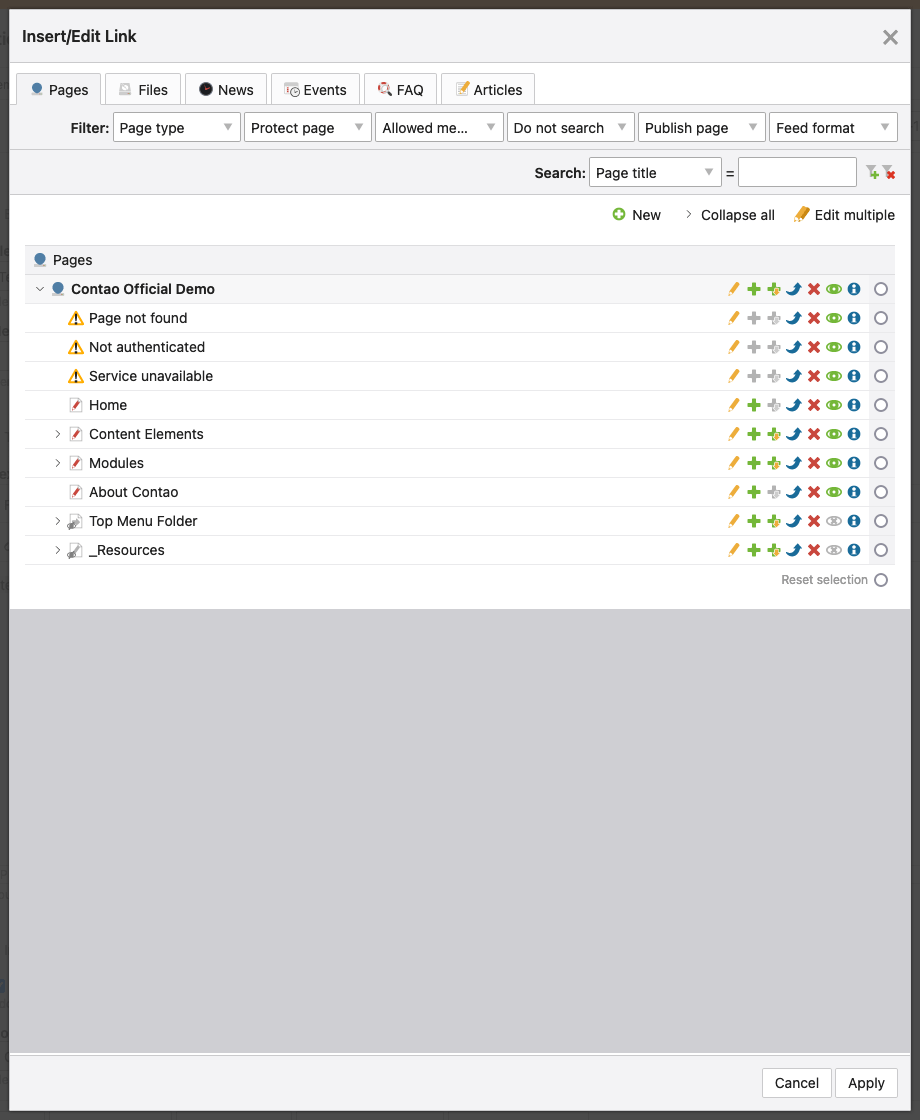
since 5.3 When editing an image size in a content element
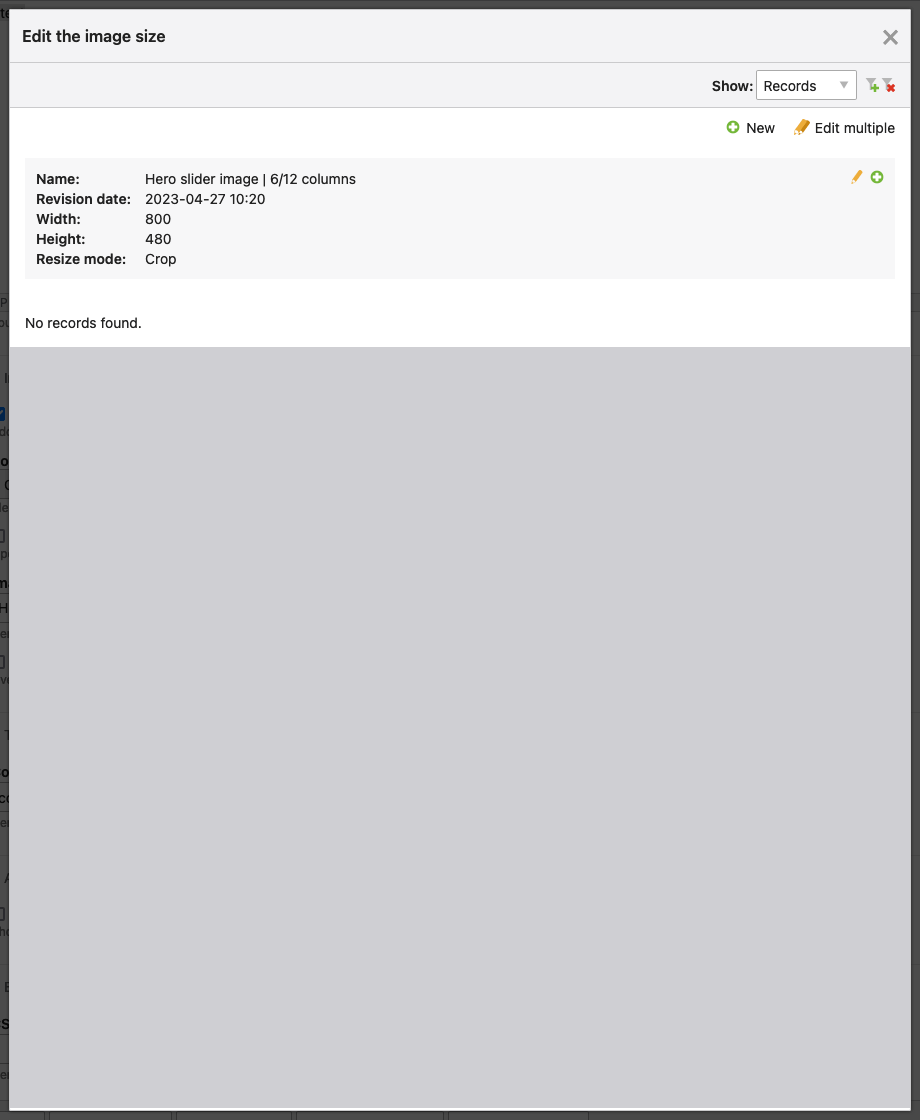
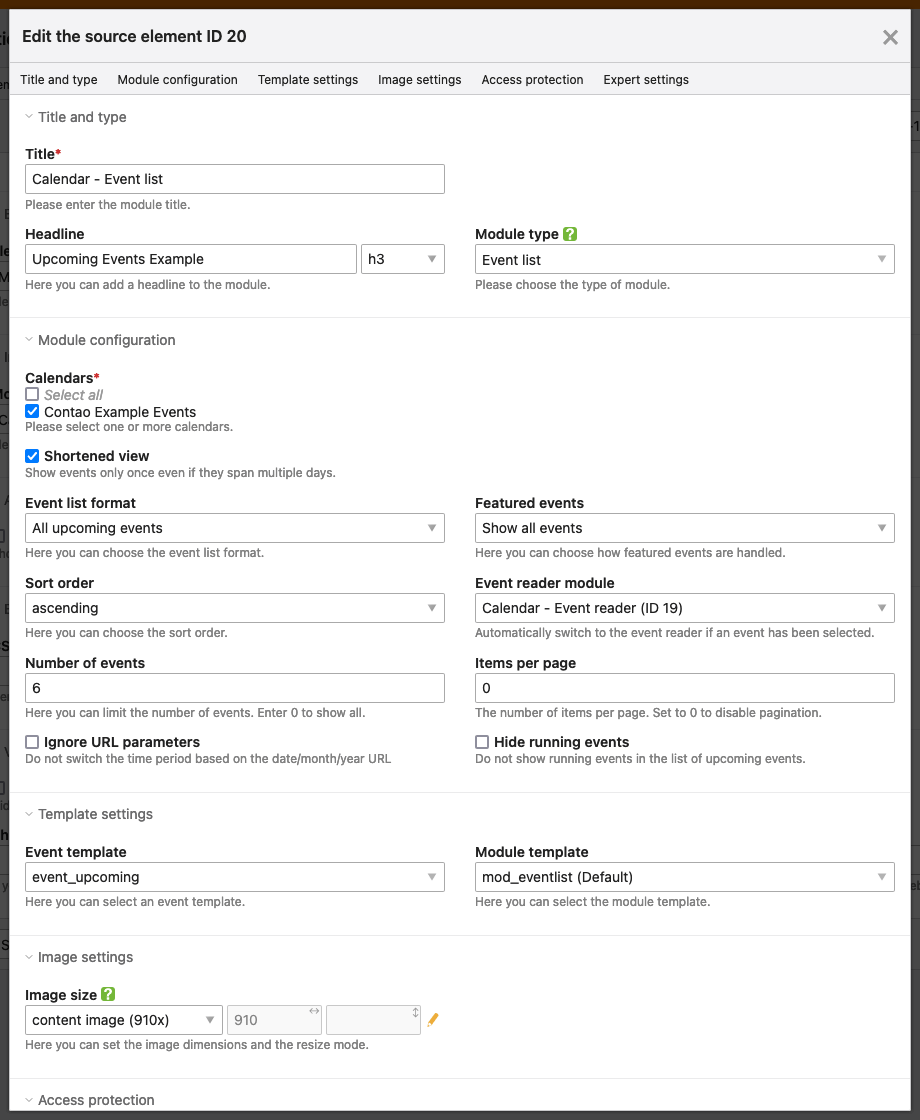
When editing a source element in a content element
since 5.3 When editing a redirect target in a news item or an event of the type “Page” or “Article”
Options when saving
Contao always offers several buttons to save your entries. Each button takes you to a different place after saving, depending on what you want to do next.
Save: When you click on this button, your entries will be saved and the input mask will be reloaded, allowing you to continue editing the data set.
Save and close: Clicking this button saves your entries and closes the form. You will be taken back to the previous page.
Save and New: Clicking this button will save your entries, and a new element will be inserted after the element you have just edited. You will be taken directly to the editing mask of the new record.
Save and duplicate: Clicking this button saves your input, the saved element is duplicated and inserted after the element you are currently editing. You will be taken directly to the editing mask of the new record.
Save and edit: This button is only available when creating new elements. Clicking on it will save your entries and take you directly to the Parent View of the child records.
since 5.3 Save and edit child elements: This button is only available when creating nested content elements. When you click on it, your entries are saved and you are taken directly to the editing view for the child elements.
Save and back: Clicking this button will save your entries and close the form. You will be forwarded to the parent page, e.g. from a content element directly to the article overview.
Go to the keyboard shortcuts in edit mode.
Edit multiple records at once
In Contao, you can easily edit multiple records at once instead of having to access and change each record individually.
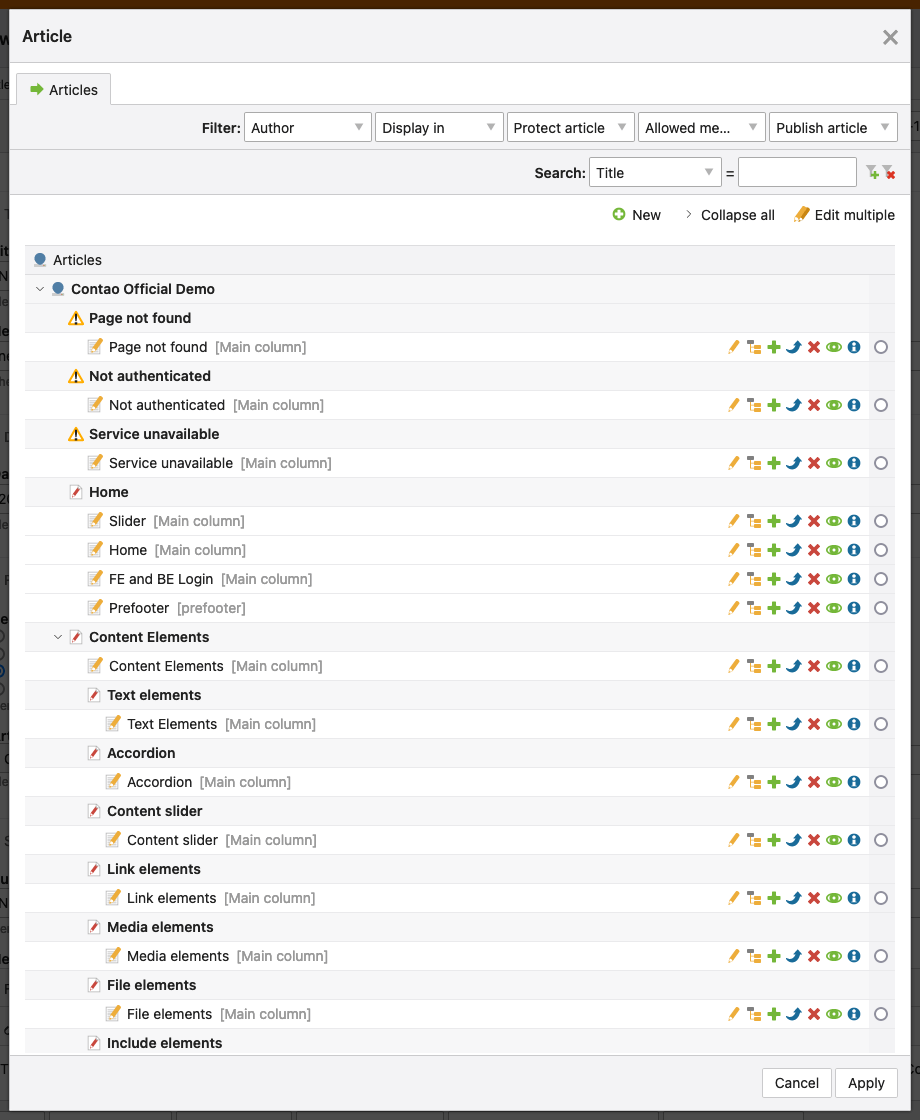
Just click on the link Edit multiple. As you can see, the navigation icons are automatically replaced by checkboxes
that let you select the records you want to edit.
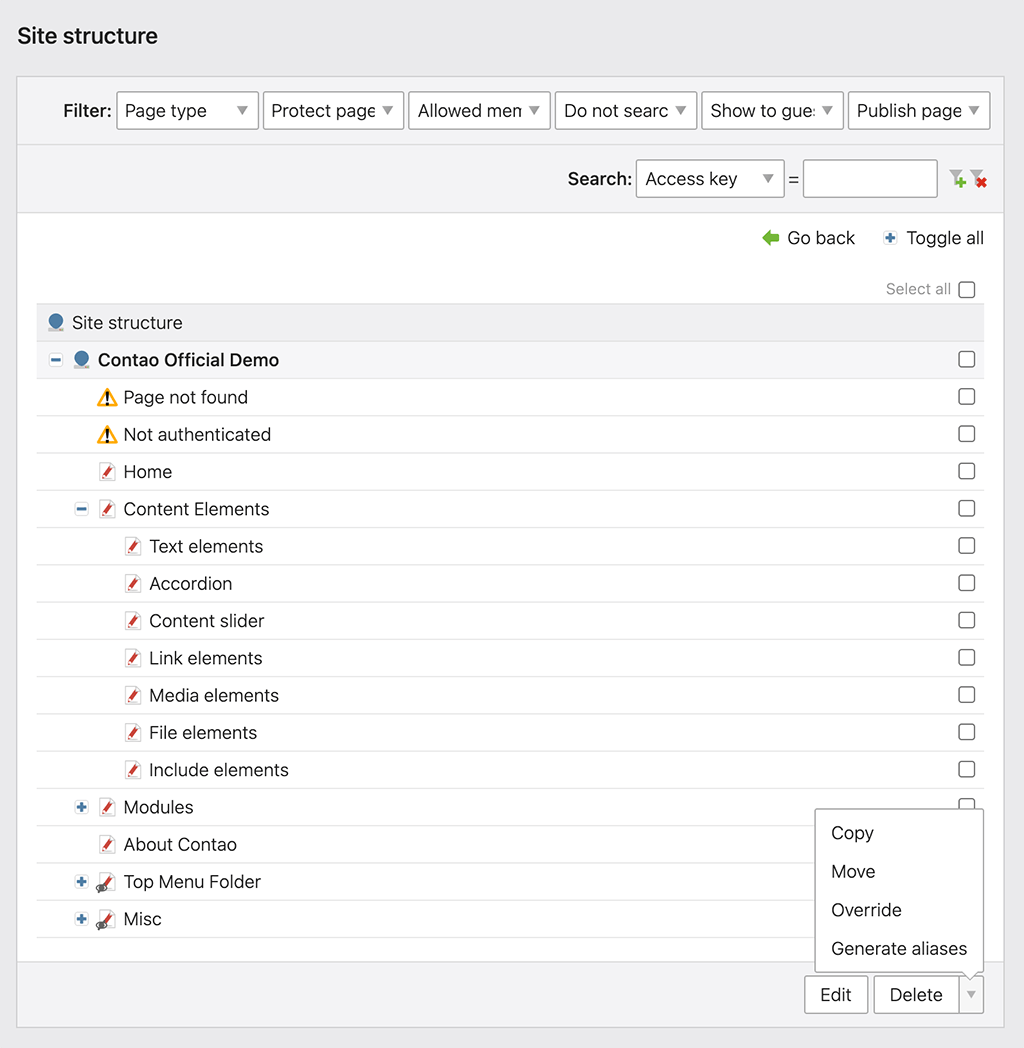
Edit: The selected records can be edited.
Delete: The selected records will be deleted.
Copy: The selected records will be duplicated using the clipboard.
Move the record: The selected records will be moved using the clipboard.
Override: The selected records will be overwritten.
Generate aliases: The aliases of the selected records will be regenerated.
Go to the keyboard shortcuts in “Edit multiple” mode.
Use the override function carefully, because all existing values of the selected data sets are actually replaced by the new value!
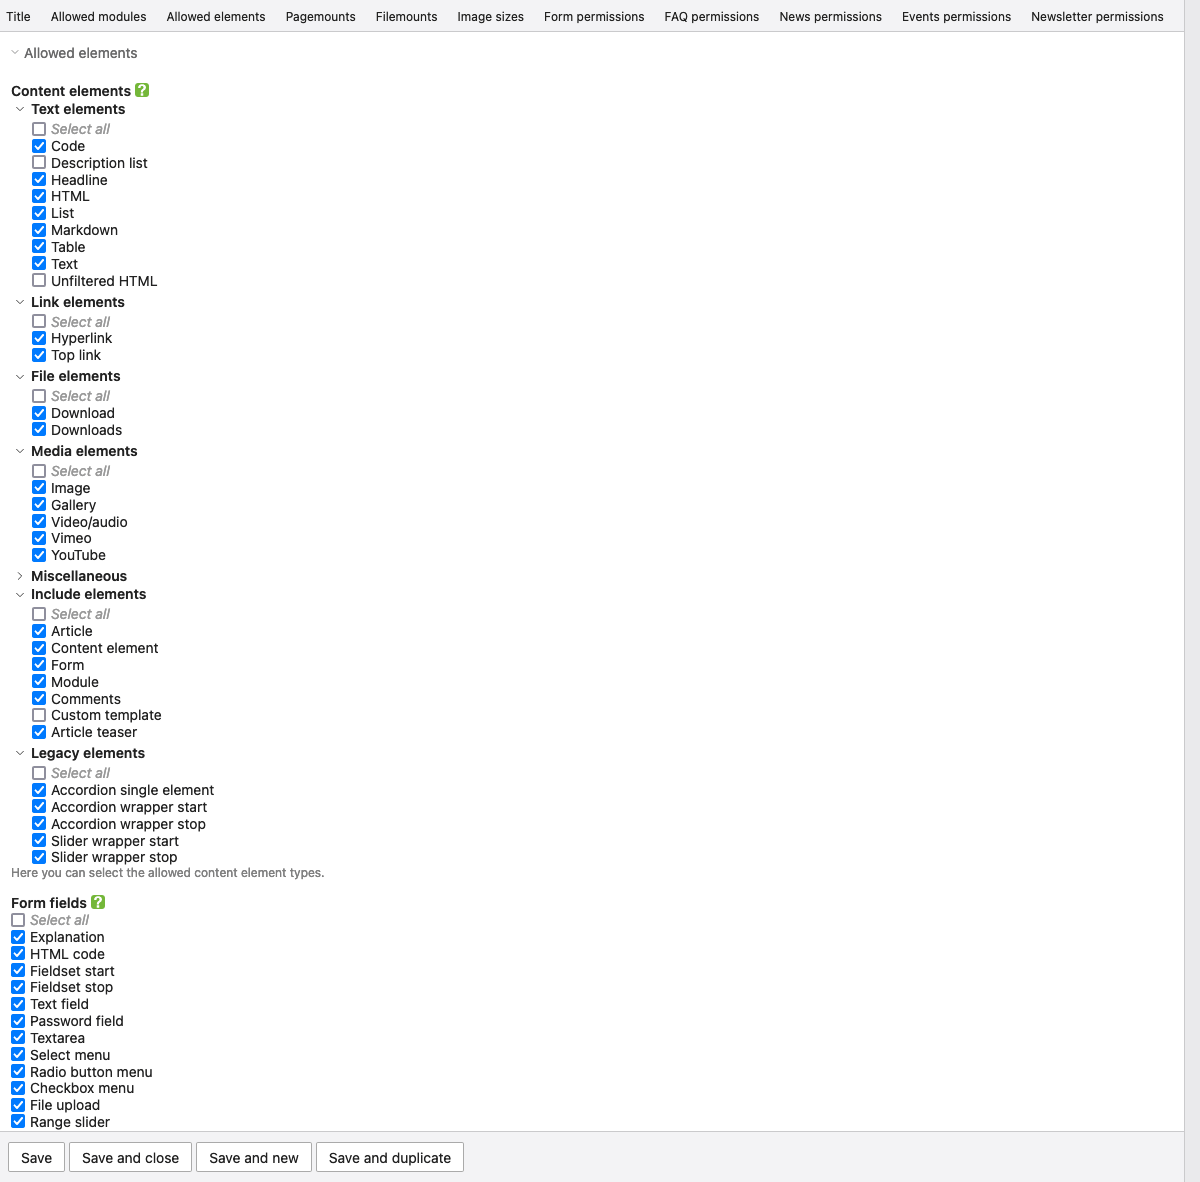
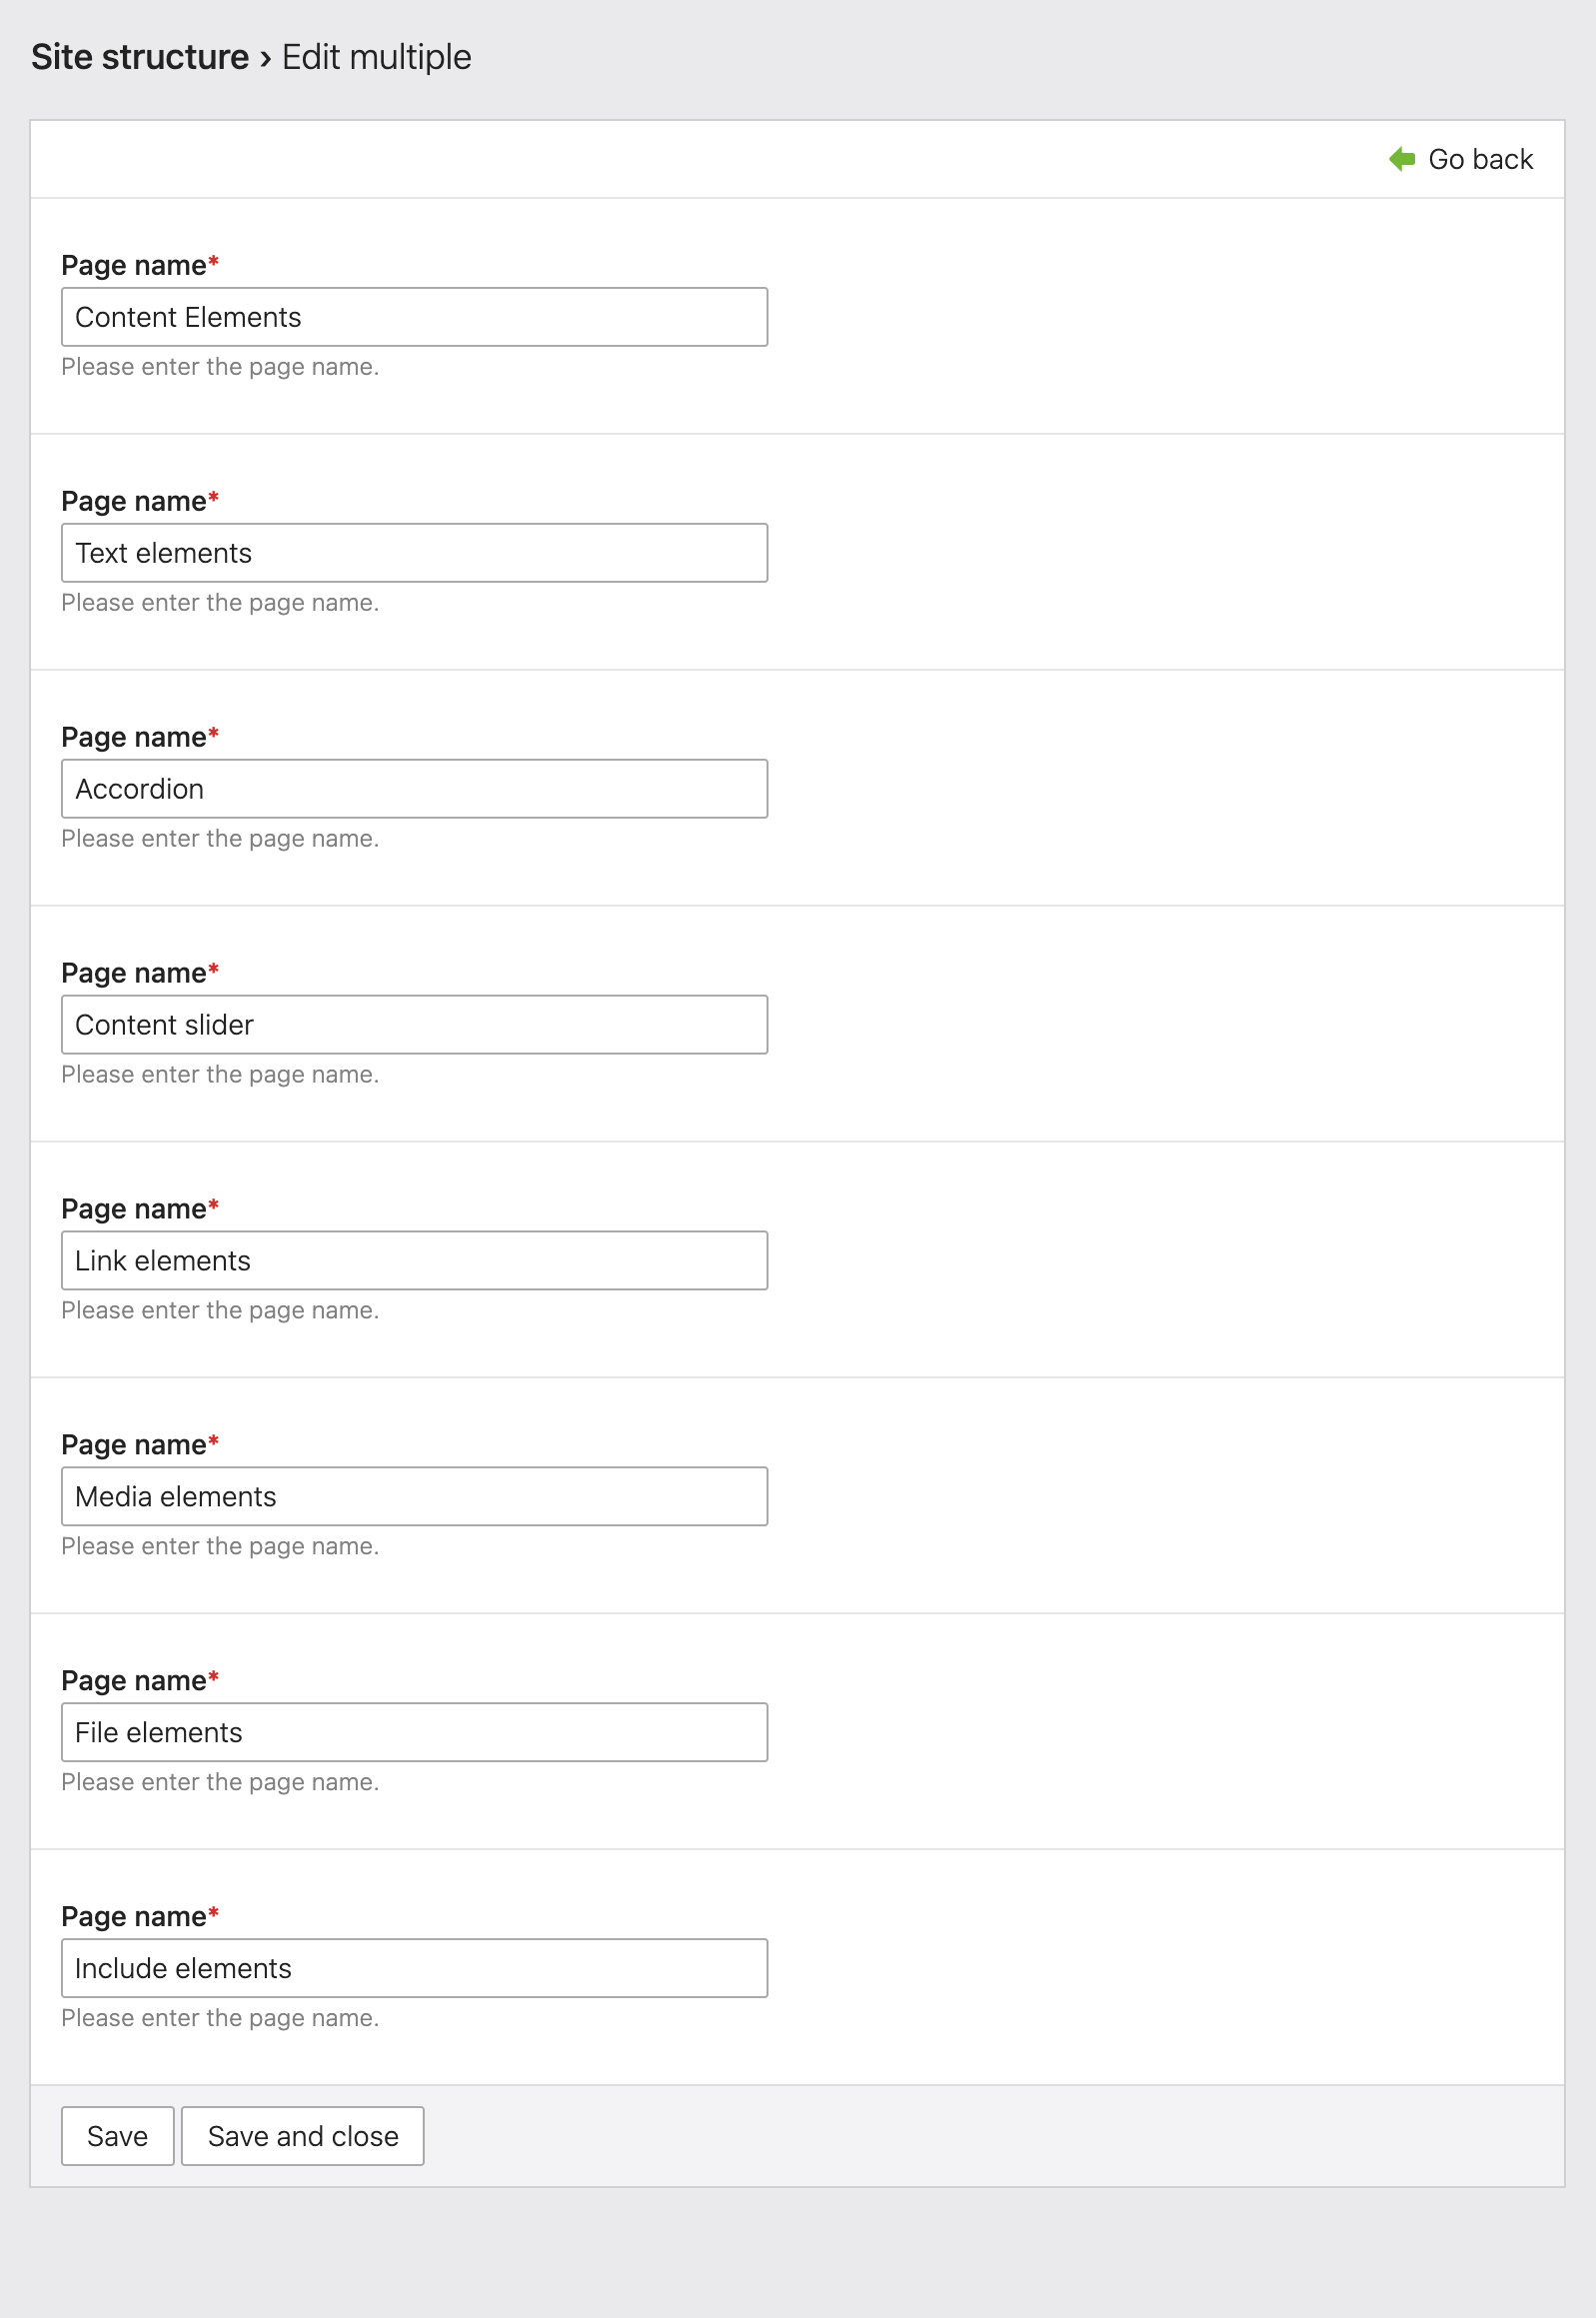
Clicking Override or Edit takes you to the overview of the fields in the table, where you can select the fields you
want to overwrite or edit and click Continue.
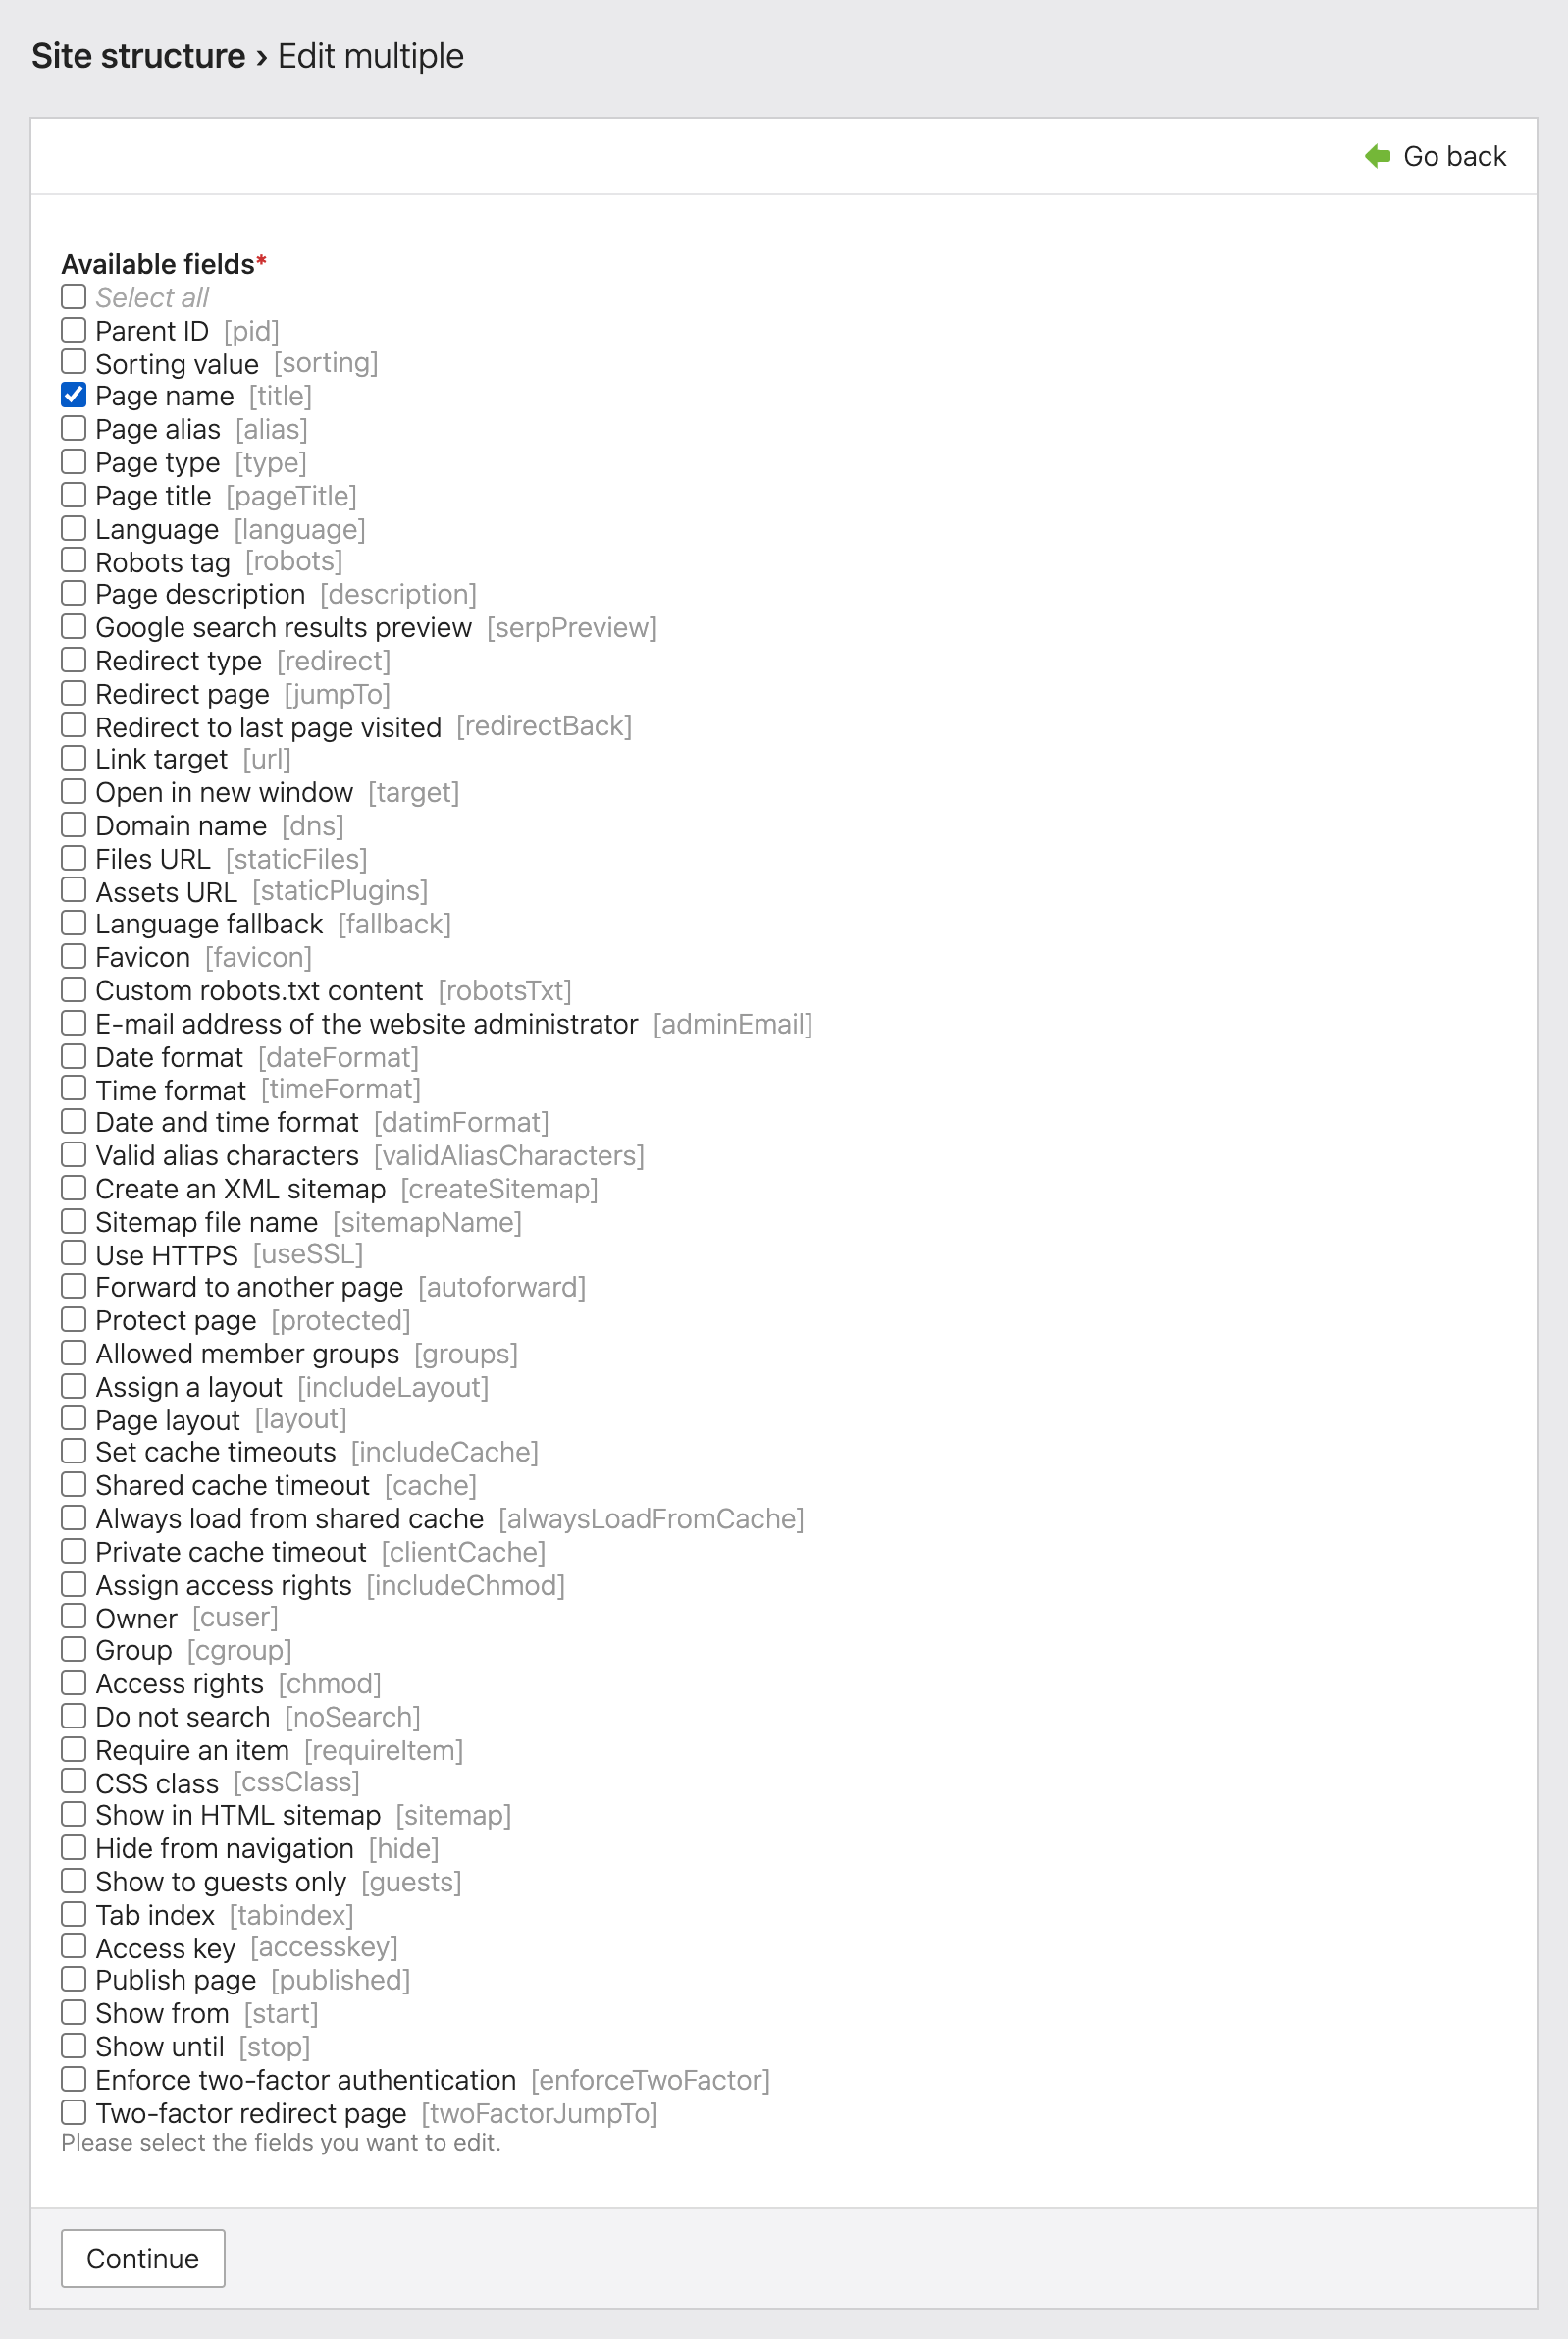
Now you can see the selected input fields of the selected data sets and can easily change them in a single step. Even when editing several data sets, you will of course only see the input fields that you actually need for your project.
Similar to this example, you could have used the “Override” function to override the language of all pages with a new value in one go. And the function can do even more: You might find yourself in the situation that you have created a new member group and now want to add it to the access rights of several page additions without deleting the existing assignment. You can also do this with the “Overwrite” function by selecting the appropriate update mode.
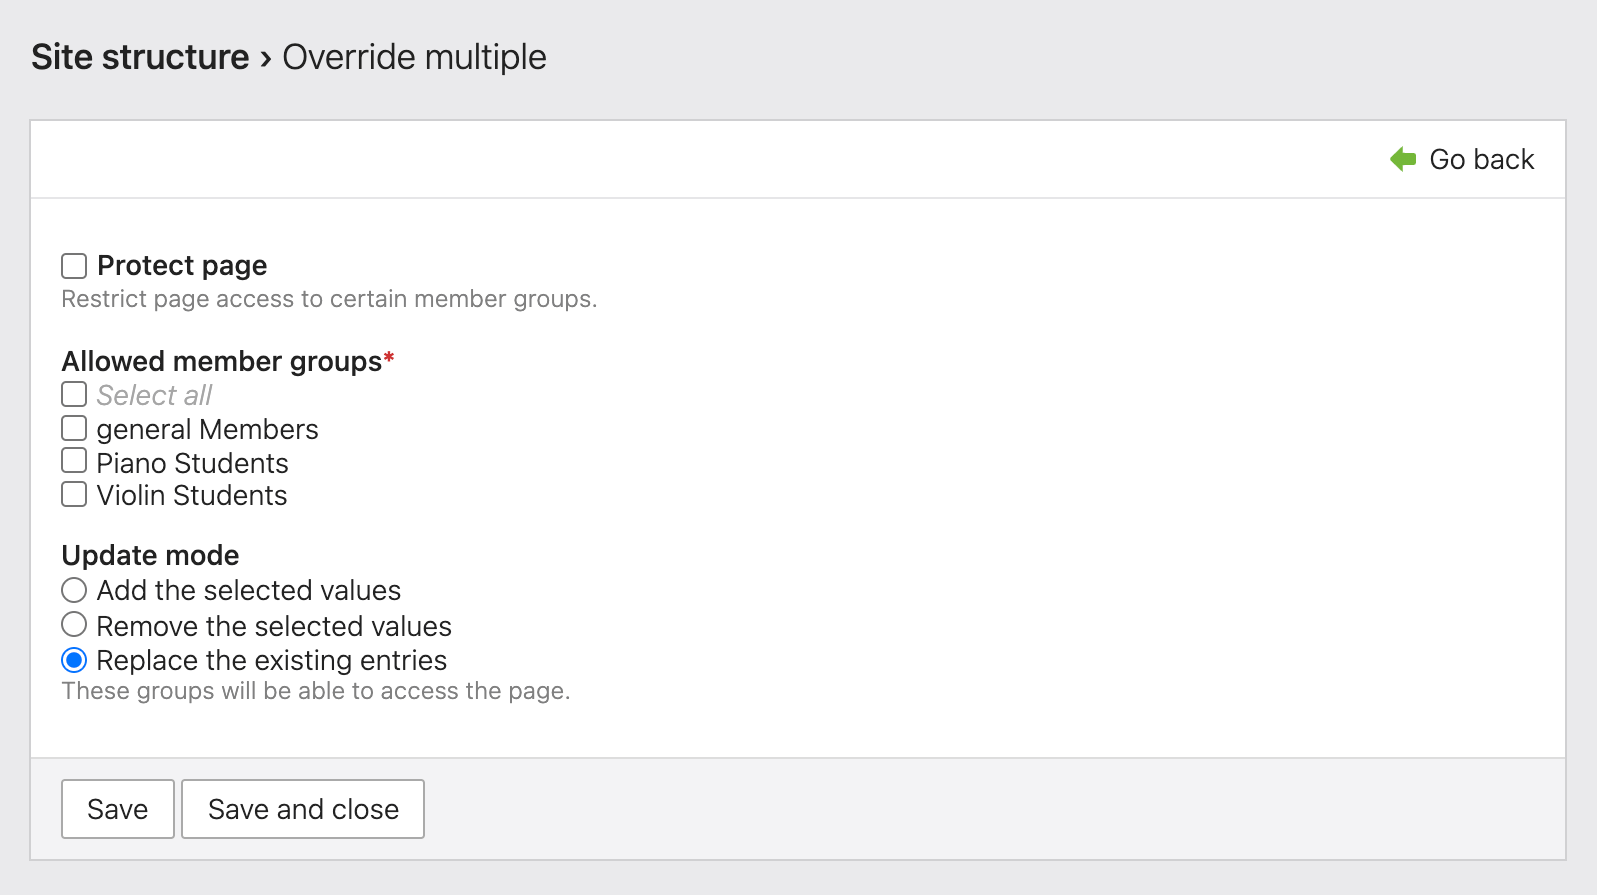
Add selected values: The existing values are retained and are supplemented by the newly selected values. A page that already has the group Piano Students assigned would have the groups Piano Students and Violin Students after saving.
Remove selected values: The newly selected values (if available) are removed from the existing values. Our page with the groups Piano Students and Violin Students would have only the group Piano Students after saving.
Override existing entries: The existing values are deleted and replaced by the newly selected values. So after saving, our page would have only the group Violin Students, no matter which groups were previously assigned.
Different versions of a record
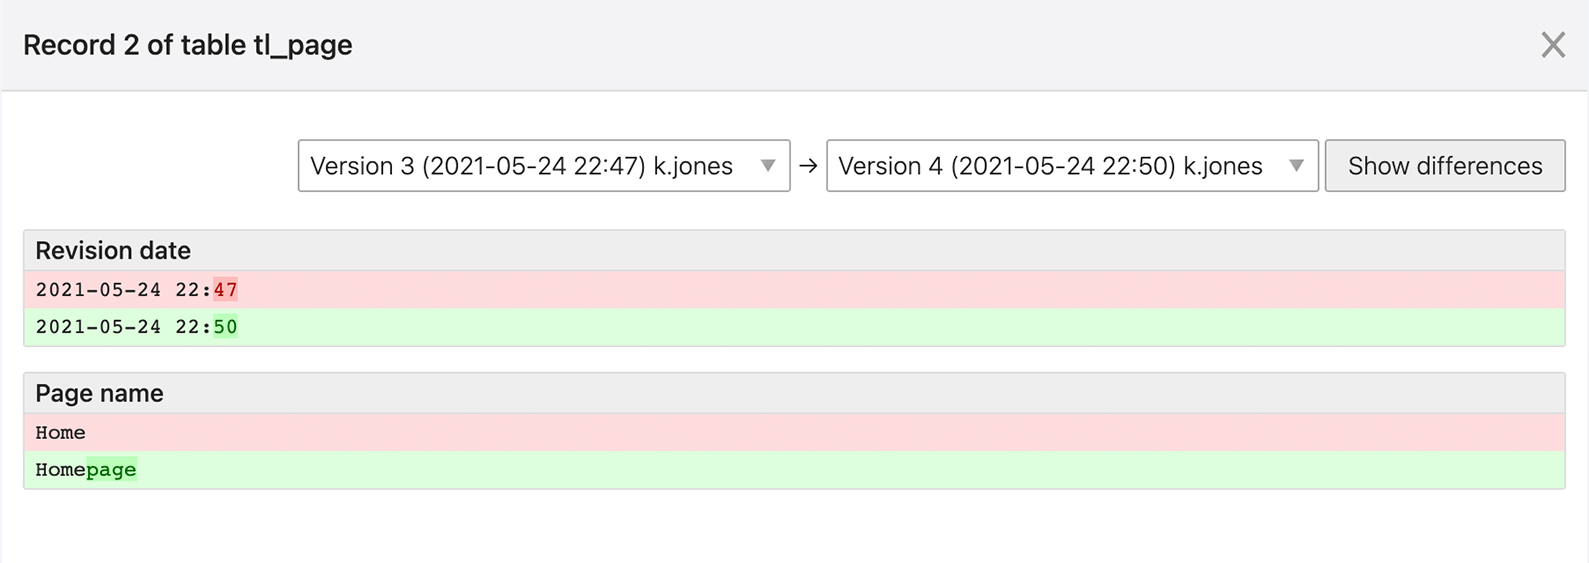
Contao automatically creates a new version of the edited data set each time you save it, so you can always undo your
changes. As soon as more than one version is available, a drop-down menu appears above the input mask listing the
different versions, their date and creator. With a click on Restore you can restore a previous version.

Clicking on the icon ![]() next to the drop-down menu will
display the differences between the current and the selected version.
next to the drop-down menu will
display the differences between the current and the selected version.