Create the first start page
You have completed the Contao installation and can now create your first page in three steps: Create a theme with a page layout, link the starting point of a website to your page layout and finally create the start page with content.
Creating a new theme
First you need a Contao theme. The first time you start the theme manager
after installation, no themes should exist. You create the theme by clicking the
New icon. For more information see configuring themes.
For our first theme we only need a Theme title and Author. As an example we will create a theme named Demo. Afterwards, you can manage your existing theme and make changes here at any time.

Create a new page layout in the theme
Now you have to create a page layout within your theme.
You can access the settings via the icon
for page layouts.

A theme can contain several page layouts. You create your first page layout
by clicking on the New icon.

Configure the page layout
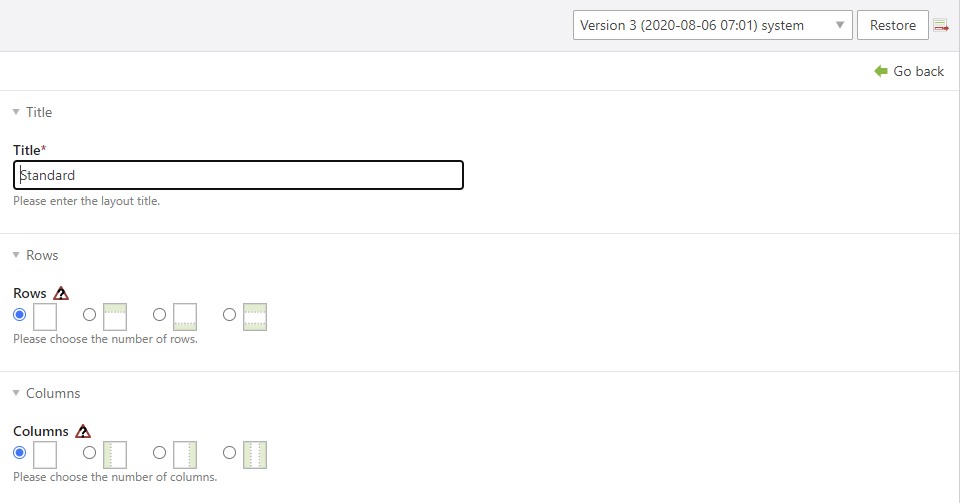
You are now in the settings for page layouts. Just set the Title to e. .g. Standard and select the first option for Rows and Columns (“Main row only” and “Main column only”).
Confirm all settings with Save and close. You can change the settings of a page layout at any time.

Create the starting point of a website
Switch to Layout > Site structure and select the New icon.
Contao will ask you for the position. Accept the suggestion that Contao offers.

You are now in the settings of the site structure. Just set the following information here:
| Setting | Value |
|---|---|
| Page name | e.g. My Demo Website |
| Page type | Select “Website root” |
| Language | en |
| Language fallback | Activate option |
| Assign a layout | Activate option |
| Publish page | Activate option |
Select the page layout
If you activate the option Assign a layout, you are able to select one of the existing page layouts of each theme. In our example we will choose the page layout Standard of the Theme Demo.

Confirm the settings with the button Save and close. Your page structure should now look like this:

You can create and maintain multiple websites with Contao within one installation. Even if you only want to maintain a single website, you have to create a new page of the type “Website root”.
Create the start page
You can now create your actual homepage in the page structure. Click on the
New icon in the site structure. Contao will ask you for the position where your new page should be added.
We want to add the new page “below” the existing page of the type Website root.

Afterwards, you are back in the settings of this page type. For our example, we will only set the relevant settings for this page type. As always, you can change these at any time.
| Setting | Value |
|---|---|
| Page name | Welcome |
| Page type | Regular page |
| Page alias | index |
| Publish page | Activate option |
The list in the page structure should now look like this:

The entry index for the Page alias should only be used for your actual start page.
You can name the alias of your other pages according to your liking: e.g. “contact” or “imprint”.
Edit the article on the home page
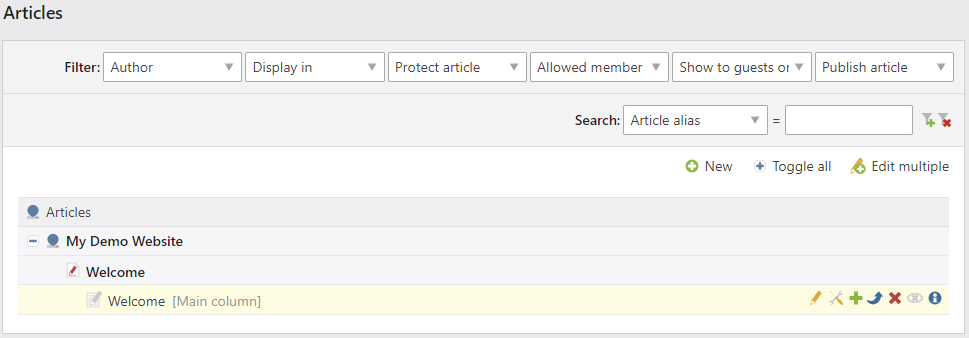
Select the link Articles in the left navigation under the Content area. With the selection Toggle all you get
the representation as seen below. Contao has created an article with the same name below
within your new start page. In the article, select the icon for Edit article.

In the above list, the article is grayed out, including the “eye” icon. You could publish the article now or continue with the following steps first.
Create new content in the article
You are now in the area Content elements of the Article. Select the
Neu icon to create a new content element. Contao asks you for the position where
you want to insert the content element. Choose the selection that Contao suggests.
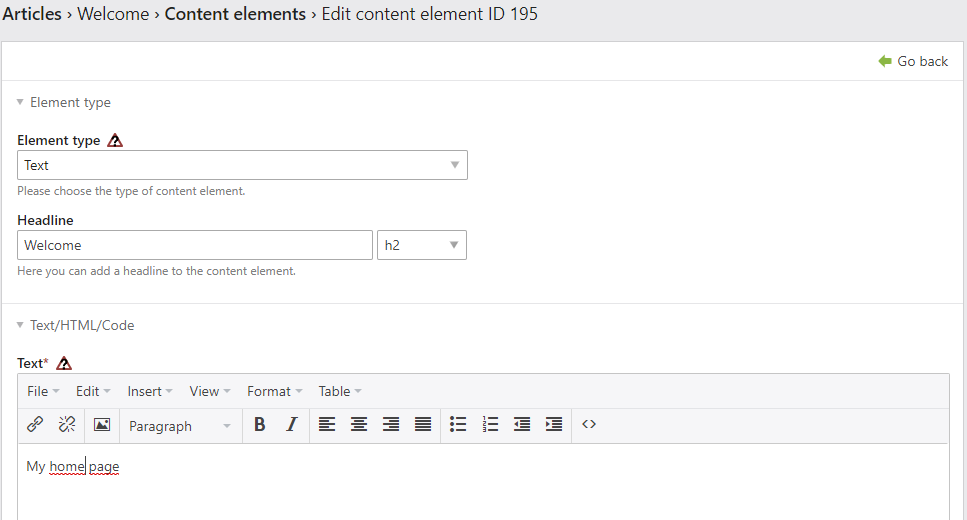
In Element type you can select the available content elements. The default setting is Text. For our example, just fill in the information Headline, Text and confirm with Save and go back.

Publish the article
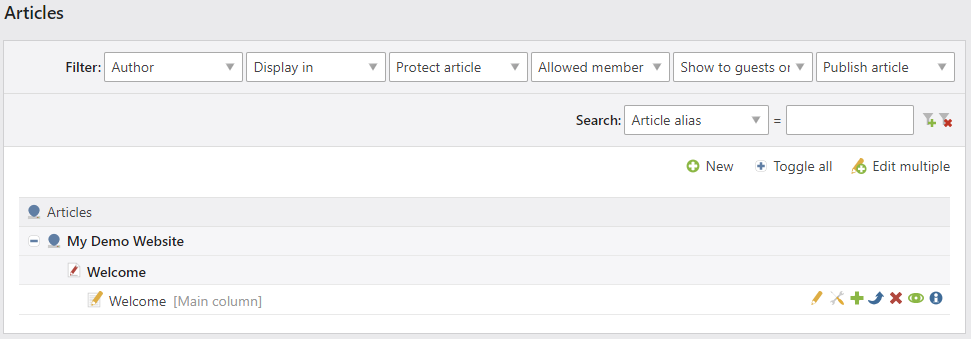
If the article is still grayed out in the list view (including the “eye” icon), you have not yet published the article. In this state the content of the article will simply not be displayed on your site.
To publish the article, click on the “eye” icon. The icon will then be displayed in green .
Now you can open your website in your browser.
