Contao Install Tool
In your browser, open the URL of your Contao installation and add the /contao/install path to access the Install Tool.
www.example.com/contao/install
Accept the license and create a password with which you can access the Install Tool again later.
Create database connection
The Contao Install Tool cannot create new databases itself because most shared hosting packages only allow this with the management software (e.g. Confixx, Plesk or cPanel). So, go to the management interface of your server and create a new database there. Then enter the credentials for the database in the Contao Install Tool.
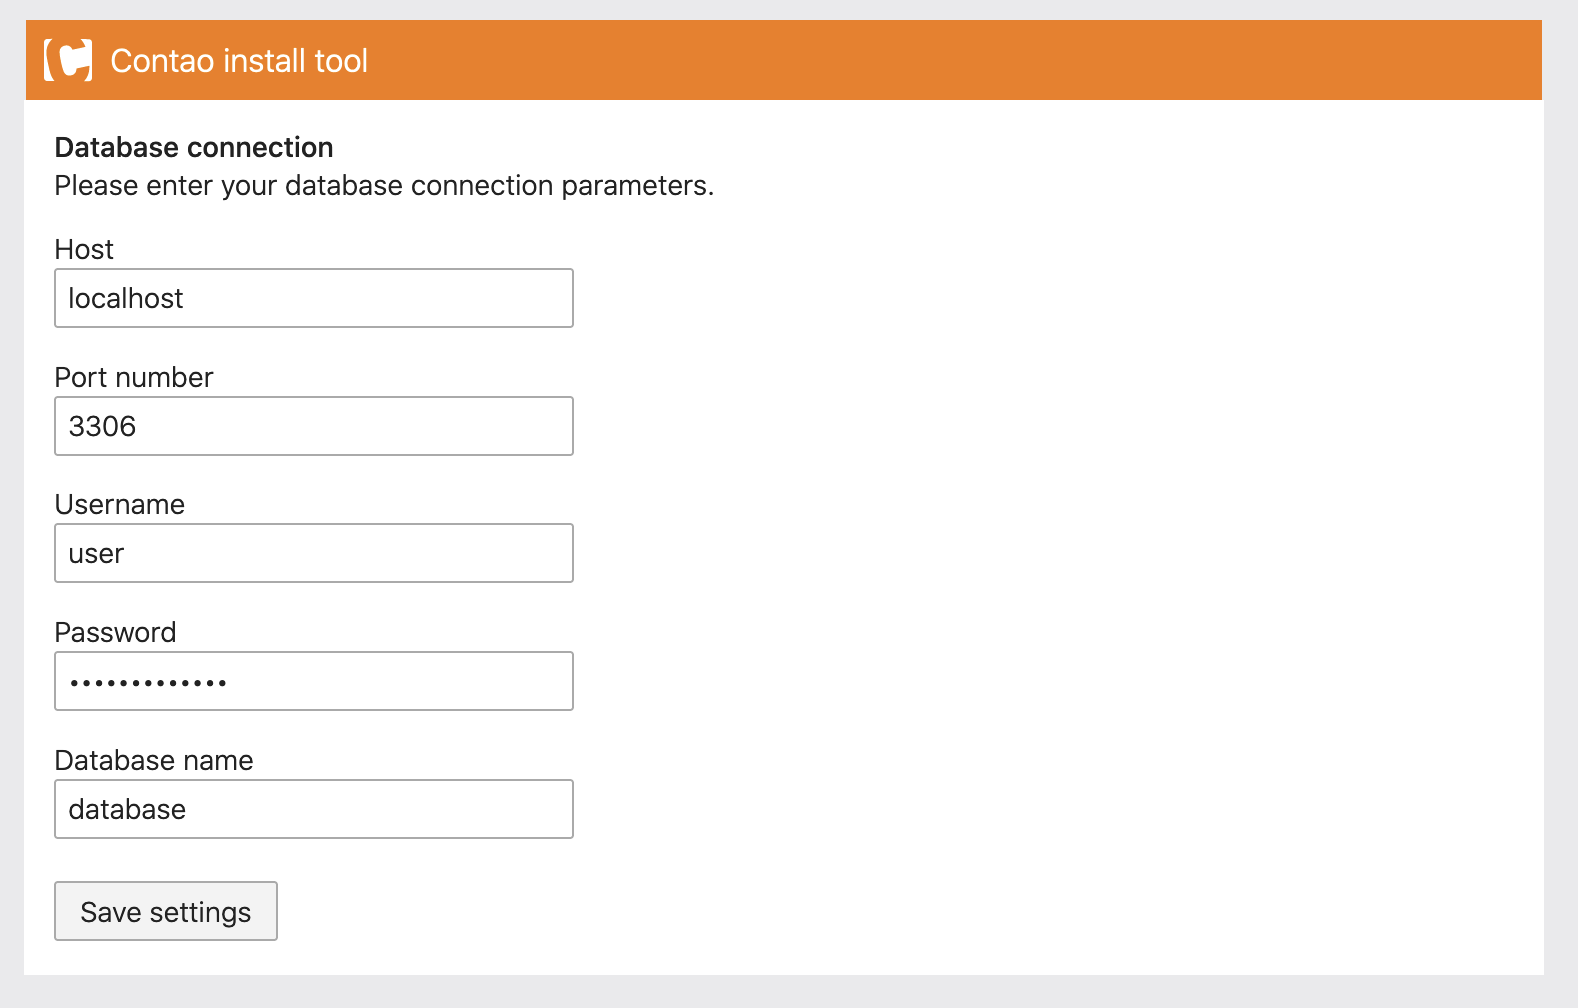
Host: Here you enter the domain or IP address of the database server.
Port number: Here you can change the port number of the database server.
Username: Here you enter the username for your database.
Password: Enter the password here.
Database: Here you enter the name of the database.
Update tables
After you have saved the database access data, the Install Tool connects to the database and compares the tables with the current version of Contao. If an update is necessary, the Install Tool automatically presents you a list of changes that you can confirm or reject.
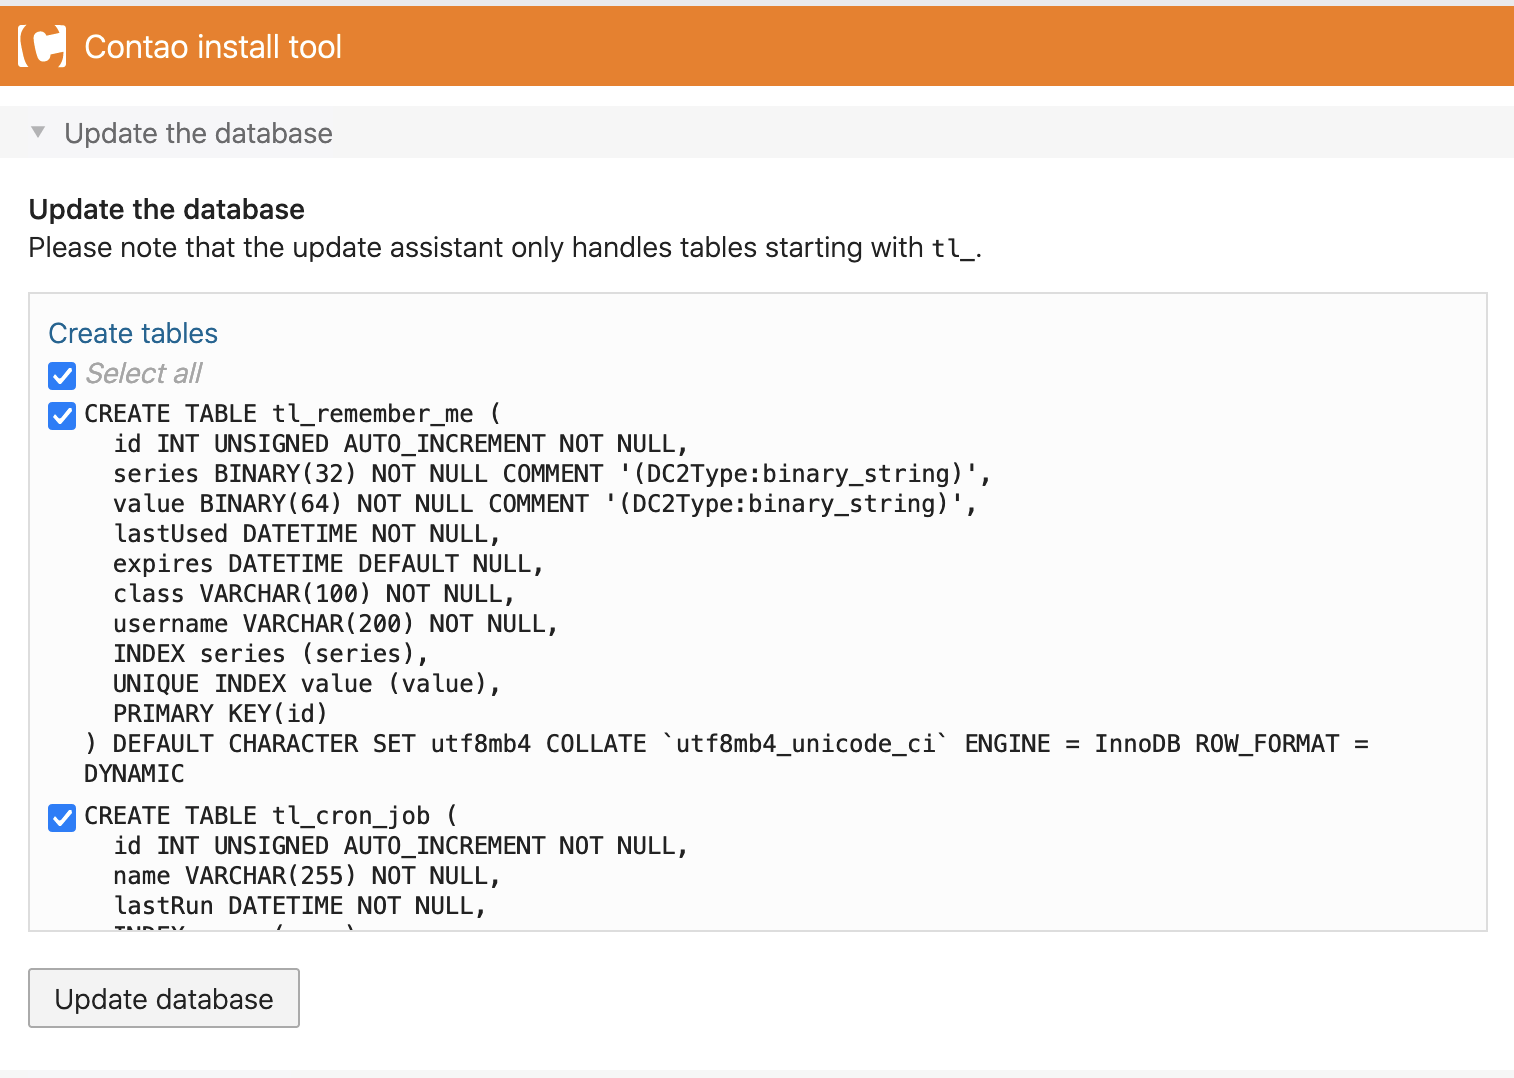
Usually, you should accept the offered changes so that your tables are always up-to-date and Contao does not try to access missing fields later. For a new installation, the list of changes is usually very long since all tables have to be created first.
If you have multiple applications sharing a database on your server, the Install Tool offers you the possibility to “clean up” the tables of the other applications that are not needed.
Although it is technically possible to run multiple applications in one database, you should use a separate database for each application.
Importing a Template
At this point you can import a .sql file from the /templatesdirectory. This will delete all existing data! If you just want to import a theme instead, please use the theme manager in the Contao back end.
When you import a template, existing data is overwritten!
Create an administrator account
If you did not import a template, for example if you want to create a new website with Contao, you need to create an administrator user that you can use to log in to the Contao back end later.
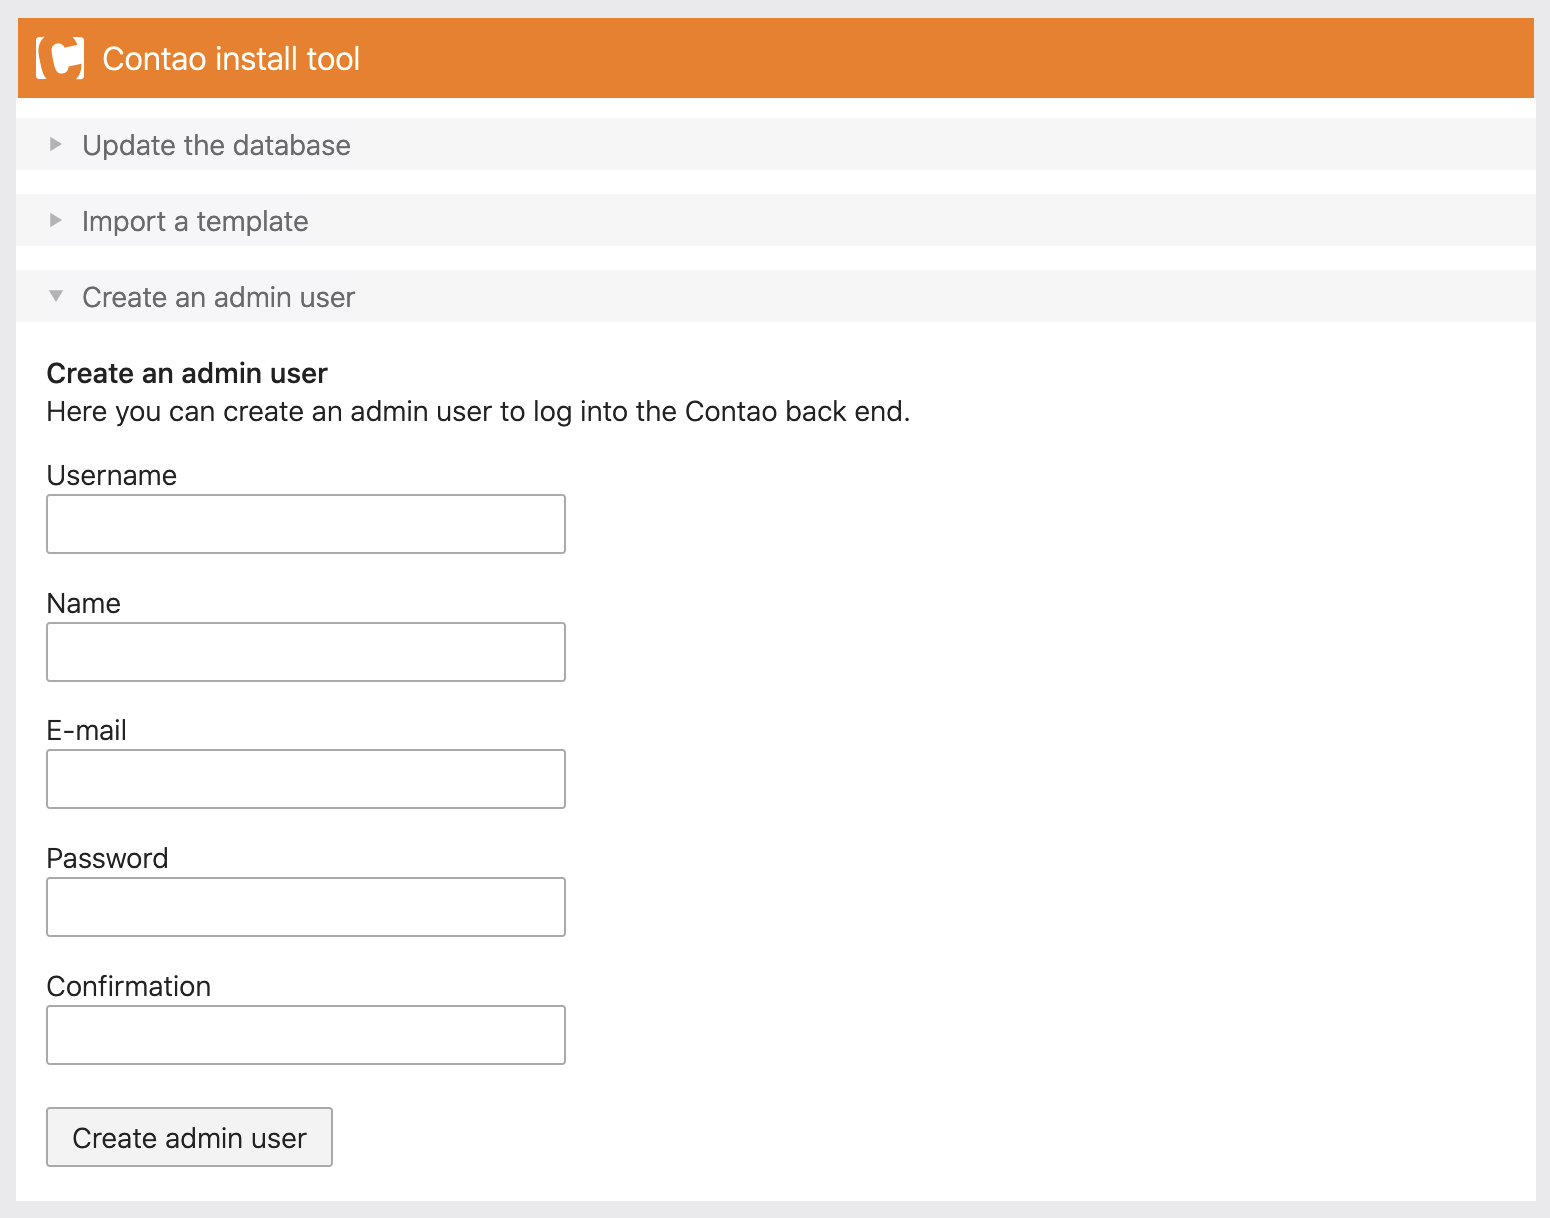
Username: Here you enter the username of the administrator.
Name: Enter the first and last name of the administrator here.
e-mail address: Here you enter the email address of the administrator.
Password: Here you set and confirm the password of the administrator.
After you have created the administrator user, the installation of Contao is complete and the link at the bottom right will redirect you to the back end.
Reset the Install Tool
There are two reasons why you might want to reset the Install Tool:
- The Install Tool has been locked.
- You have forgotten the Install Tool password.
The Install Tool is protected against brute force attacks and is automatically locked if an incorrect password is entered more than three times in a row.
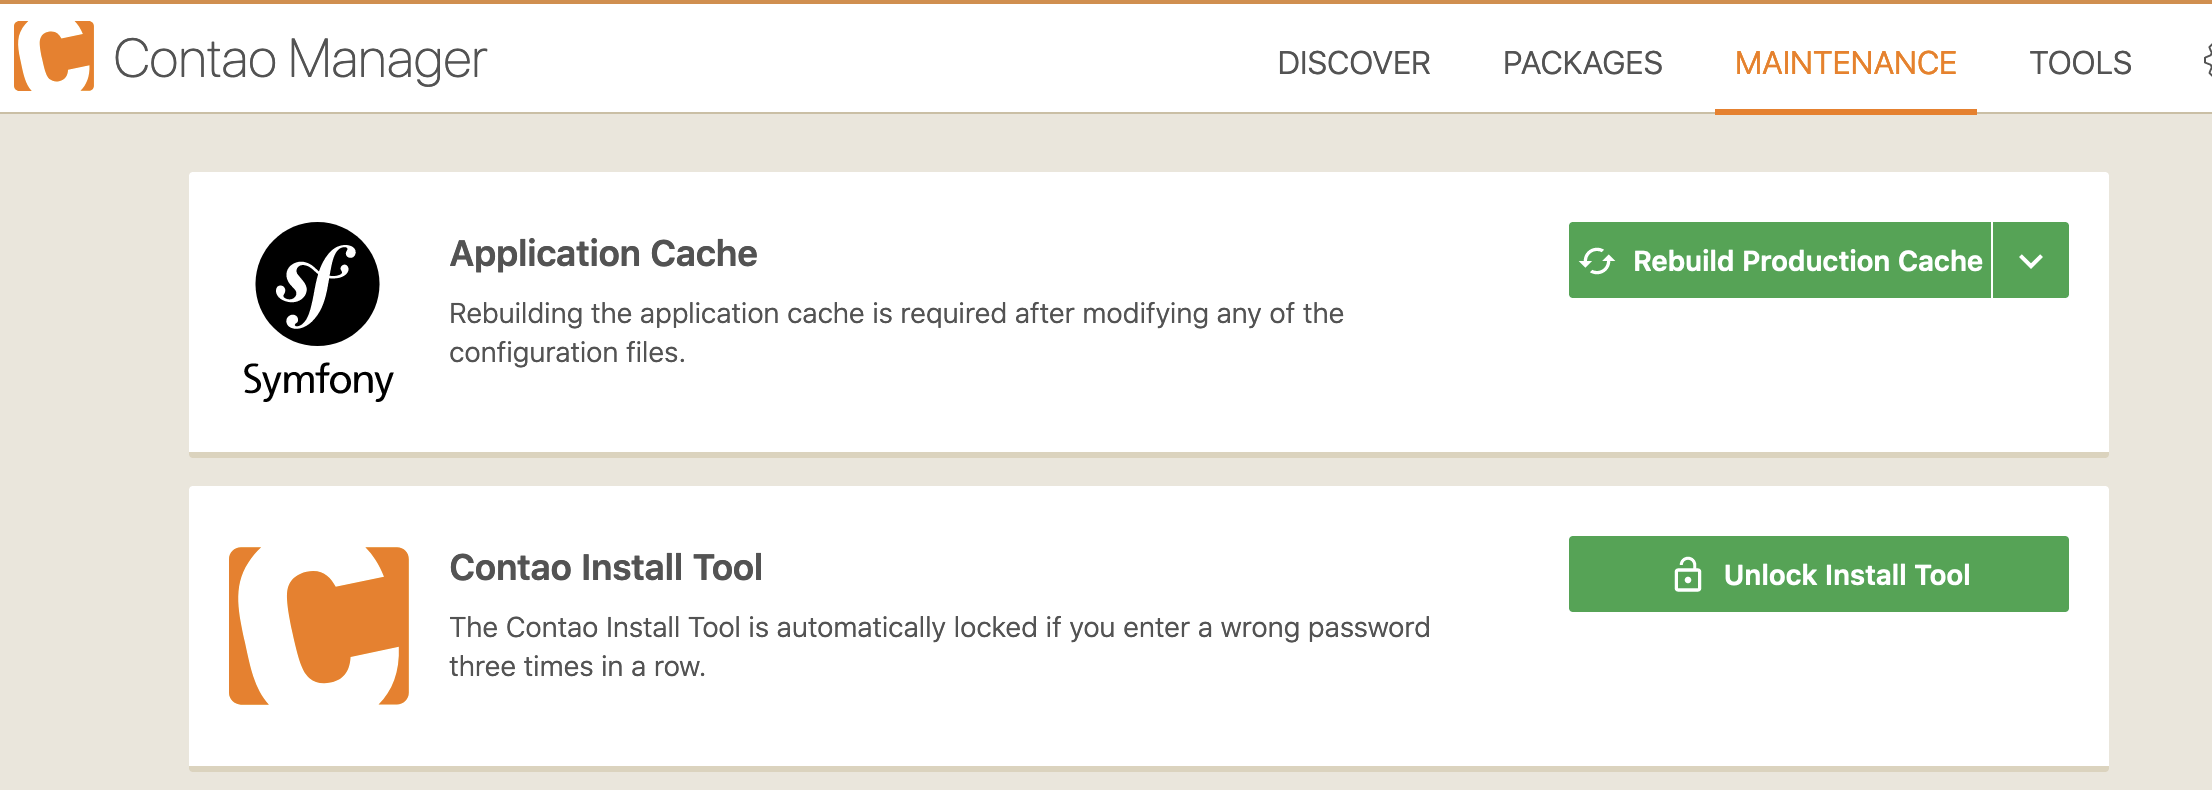
You have three options to unlock the Install Tool:
-
Via the Contao Manager by clicking on “Unlock Install Tool” in the “Maintenance” menu.
-
From the command line by executing the following command in the root directory of your Contao installation:
php vendor/bin/contao-console contao:install:unlock -
By deleting the file
install_lockin the directory/varon the web server.
A forgotten password can be reset in the local configuration (/system/config/localconfig.php) file.
Search for the line with the statement $GLOBALS['TL_CONFIG']['installPassword'] = '…';and remove it completely from the file. Then you can set a new password when again once you reload the Install Tool.