Mumble Installation
Since 1st of October 2021 we are not using Mumble for our regular public calls anymore. Instead we are using Huddles in the Contao Slack workspace.
Quick Info for Settings
- Adress: mumble.c-c-a.org
- Port: 62492
- Username: Can be defined freely
- Label: Can be defined freely, e.g. CCA-Mumble-Server
What is Mumble
Mumble is an audio chat software where you can talk to several people. Additionally, there is the possibility to enter short information in a chat window. Mumble is usually divided into several rooms, so that you can withdraw into a room in smaller groups or as a couple.
You can find more about Mumble at mumble.info.
Installation
To install you have to download and run the appropriate files for your operating system. You only need the Mumble client - the installation of the Mumble server application is not necessary.
Set up Mumble
After the first start of Mumble the “Audio Settings Wizard” should open. All settings can also be adjusted afterwards.
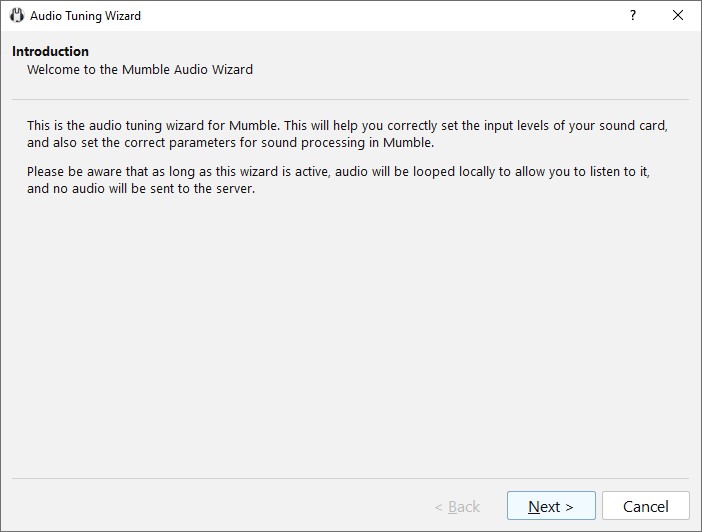
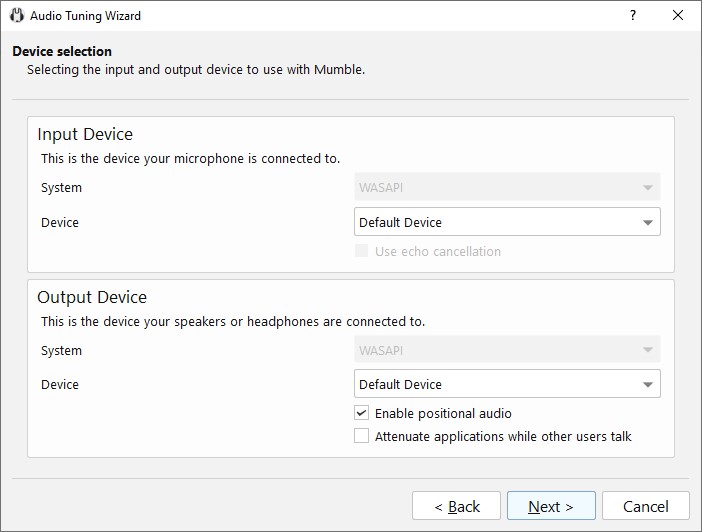
If you press the “Next” button, you can select your preferred audio input and output devices on the next screen.
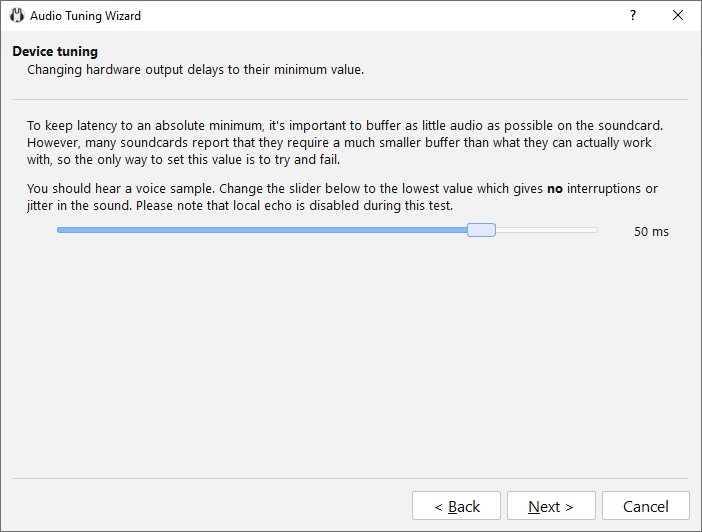
In the next screen the performance of the sound card is determined. This is described in the wizard window. You hear a text and should move the slider under the text to the left as far as possible without the quality of the text being reduced or starting to falter.
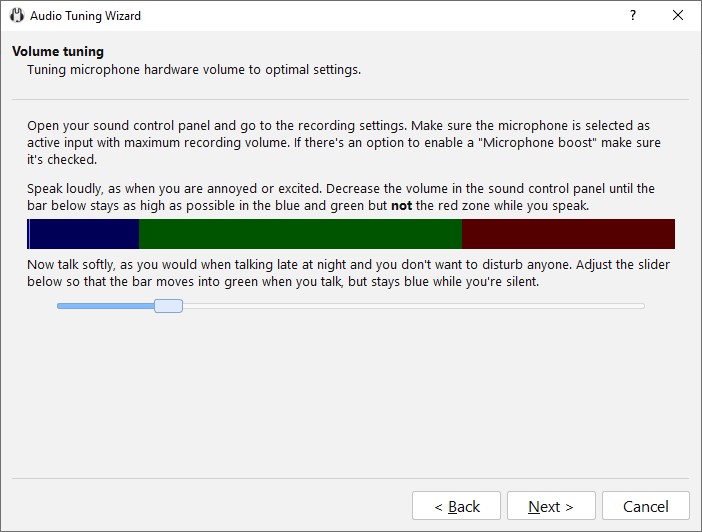
The next step deals with the volume settings. Following the instructions on the screen, you should find the optimal setting.
Now we come to voice activity detection. This is used to set the point at which the “sounds” recorded by the microphone are classified as speech. We recommend to keep the setting “Input raw amplitude” for now. After that you can move the slider below the activity bar to the center.
When you are in Mumble, you can adjust this setting even better, but this is how it should work for now. On this screen you can already see the icon as an avatar, which changes from green to blue when the voice level is recognized and activated and additionally shows “sound waves” - this is a sign for your own voice input. In the later Mumble status window this icon will also be visible with the color change and shows who is currently speaking.

The following screen would like to ask for two more settings regarding quality and hints. The quality can be left on “balanced”. With the notifications we recommend to activate the point “Disable text-to-speech and use sounds”, because especially “text-to-speech” can lead to great confusion at the beginning.
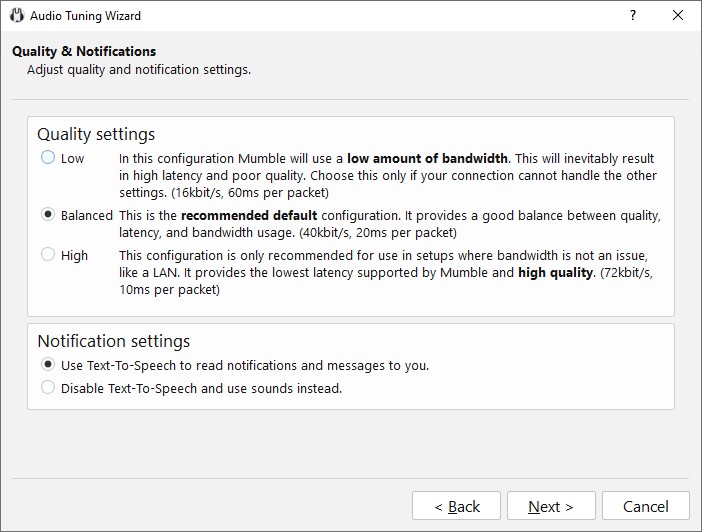
The last point is actually only interesting for use with games and can be ignored. If you use headphones, you can check the box “Use headphones”.
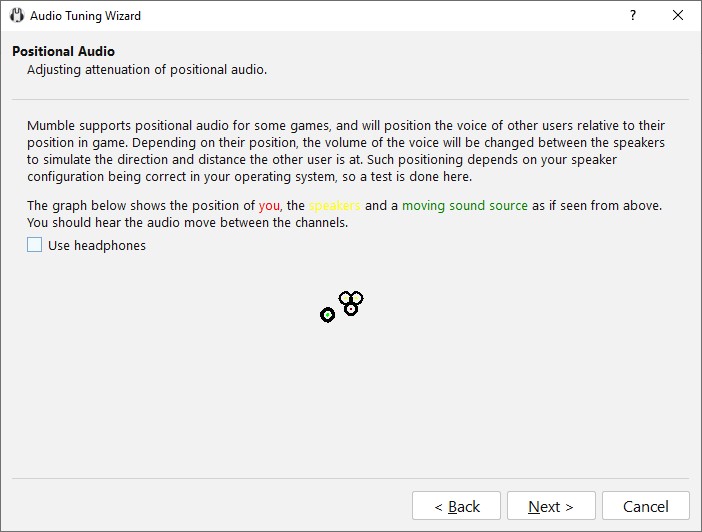
The audio configuration is now complete.
Certificate Management
With Mumble, you generally do not have to think of a username or password, but are identified by means of a certificate. If you already have a certificate (e.g. a mail certificate or similar) you can use it. But you can also have a certificate created by Mumble.
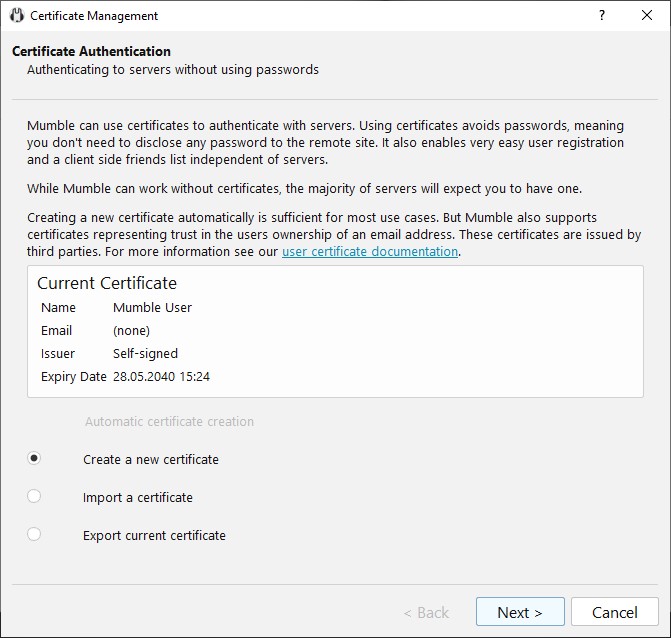
After creating the certificate, you should export the certificate and save it in a safe place. If you need to reinstall Mumble - e.g. on a second computer or after a crash - you can import the saved certificate.
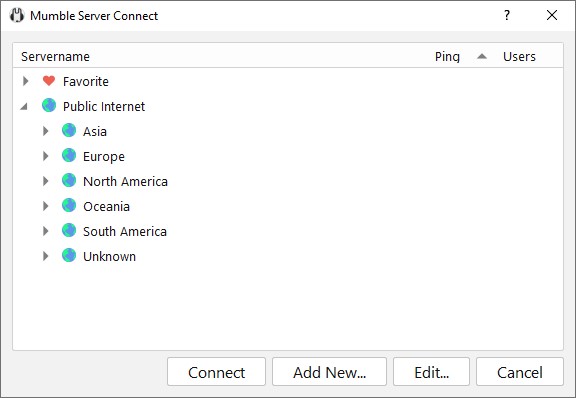
Select Mumble server
There are many different Mumble servers all over the world, but we only want one specific one and therefore we have to give Mumble the access data to the “CCA Mumble server”. To do this, simply click on “Add server” in the appearing screen.
The following data should be entered:
- Description: Can be chosen freely, e.g. CCA Mumble server
- Address: mumble.c-c-a.org
- Port: 62492
- Username: Can be freely chosen
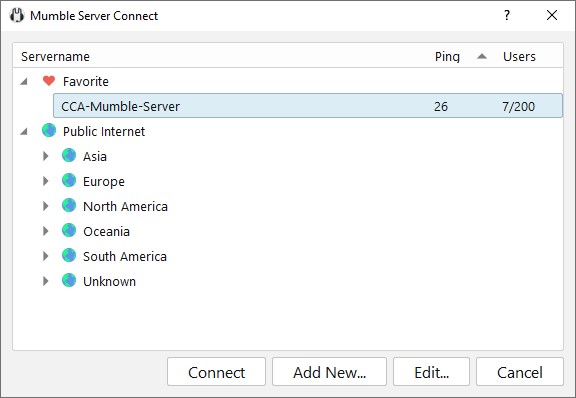
In the server list the “CCA-Mumble-Server” should now appear in the favorites. Select this entry and click on “Connect”.
Mumble status window
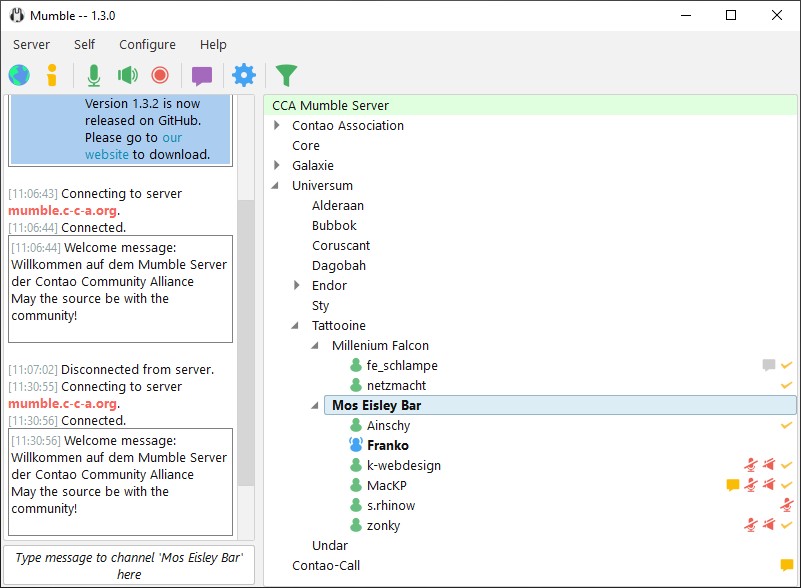
Congratulations, because when you see the following window, you are in “Mumble”. If you log on to the Mumble server you will be automatically moved to the “Mos Eisley Bar” at the beginning. This is a kind of virtual lounge. Otherwise the “CCA-Mumble-Server” is divided into the following “main channels”: “Galaxy” and “Universe”.
This in turn will be transferred to different subchannels. All channels in the “Universe” are freely accessible to everyone, and in the “Galaxy” the channels “Galactic Games”, “Galactic Salad” and “Galactic Senate” with “open senate” are also accessible to you.
In the channel “closed Senate” (in “Galactic Senate”) only administrators are allowed. These administrators can invite all others to the channel and assign them language rights.
If you have set in the audio setup that Mumble automatically detects the language status, from now on every word or sound will be transmitted to Mumble, if you don’t believe yourself.
Troubleshooting
If someone should encounter problems during the setup, just write to the CCA via Twitter (CCA for Twitter), via Facebook (CCA for Facebook) or one of the other communication channels. We are happy to help.
If there are still language problems after successful setup, we can help directly in Mumble and if someone is active in Mumble and can help, you can find out live on CCA website in the box “Mumble status”.
Under the menu item “Preferences” you will find (under Windows/Linux on the lower left, under Mac OS X on the upper right) the item “Advanced”.
Now check under “Audio input” if there is a deflection in the voice input to the microphone: If there is no deflection, no sound at all is picked up by the microphone. Therefore you should check under “Audio input” the point “Device” (under “Interface”), if the suitable input source/microphone is selected.
If there is a deflection under “Audio output”, but it only remains in the red area, you should move the “Silence until” and “Speech over” controls so that the deflection is in the green area.
Meaning of the areas:
- Yellow area: This is the area where the audio is still being transferred, if it was in the green area before.
- Red area: Even if a rash is visible here, nothing is transmitted.