Include elements
Article
The content element “Article” allows multiple integration of an article without having to copy it. Note that only the content elements and not the article header are copied.
Include settings
Referenced article: Here you select the original article.
Alias elements use the same HTML markup as the original element.
Content element
The content element “Content element” is used to insert an existing content element a second time without having to copy it. The advantage of this method is that you only need to make changes in the original content element and these changes are automatically reflected in all alias elements.
Include settings
Referenced element: Here you select the original content element.
Alias elements use the same HTML markup as the original element.
Form
The content element “Form” adds a form to the article. For information on creating and managing forms, see the Form Generator section.
Include settings
Form: Select the form you want to insert.
Module
The content element “Module” adds a frontend module to the article. You already know how to create and configure modules from the section Module Management.
Include settings
Module: Here you select the module you want to insert.
The HTML output depends on the module type.
Comments
The content element “Comments” offers visitors the possibility to leave comments on your website. You can also run a guestbook with it.
Comment settings
Sort order: Here you can determine the order of the comments. Guestbooks usually show the newest entry first (descending order), comments show the oldest (ascending order).
Items per page: Here you can define the number of comments per page. Contao automatically creates a page break when needed. Enter 0 to disable the automatic page break.
Moderate: If you select this option, comments do not appear on the website immediately but only after you have enabled them in the back end.
Allow BBCode: If you select this option, your visitors can use BBCode to format their comments. The following tags are supported:
| tag | Declaration |
|---|---|
[b][/b] |
Boldface |
[i][/i] |
Italics |
[u][/u] |
Underlined |
[img][/img] |
Insert picture |
[code][/code] |
Insert program code |
[color=#f00][/color] |
Coloured text |
[quote][/quote] |
Insert quote |
[quote=Tim][/quote] |
Insert quote and mention the author |
[url][/url] |
Insert link |
[url=http://example.com][/url] |
Insert link with link title |
[email][email] |
Insert e-mail address |
[email=info@example.com][/email] |
Insert e-mail address with title |
Require login to comment: If you select this option, only logged in members can add comments. However, comments already submitted will still be visible to all visitors of the website.
Disable spam protection: Here you can disable the spam protection (not recommended). Since Contao 4.4, this question is only “displayed” to spambots. Without a security question, it is possible that spammers automatically create user accounts and abuse your website.
Template settings
Comments template: Here you can choose the template for the individual posts.
Content element templatee: Here you can overwrite the default ce_comments template.
Comment management
The management of the comments your visitors make is done centrally in the back end with the module “Comments”, which you can find in the navigation in the group Content. All comments are displayed there, no matter if they refer to a content element, an article or a blog post. If you want, you can filter the list of comments by their origin or parent element.
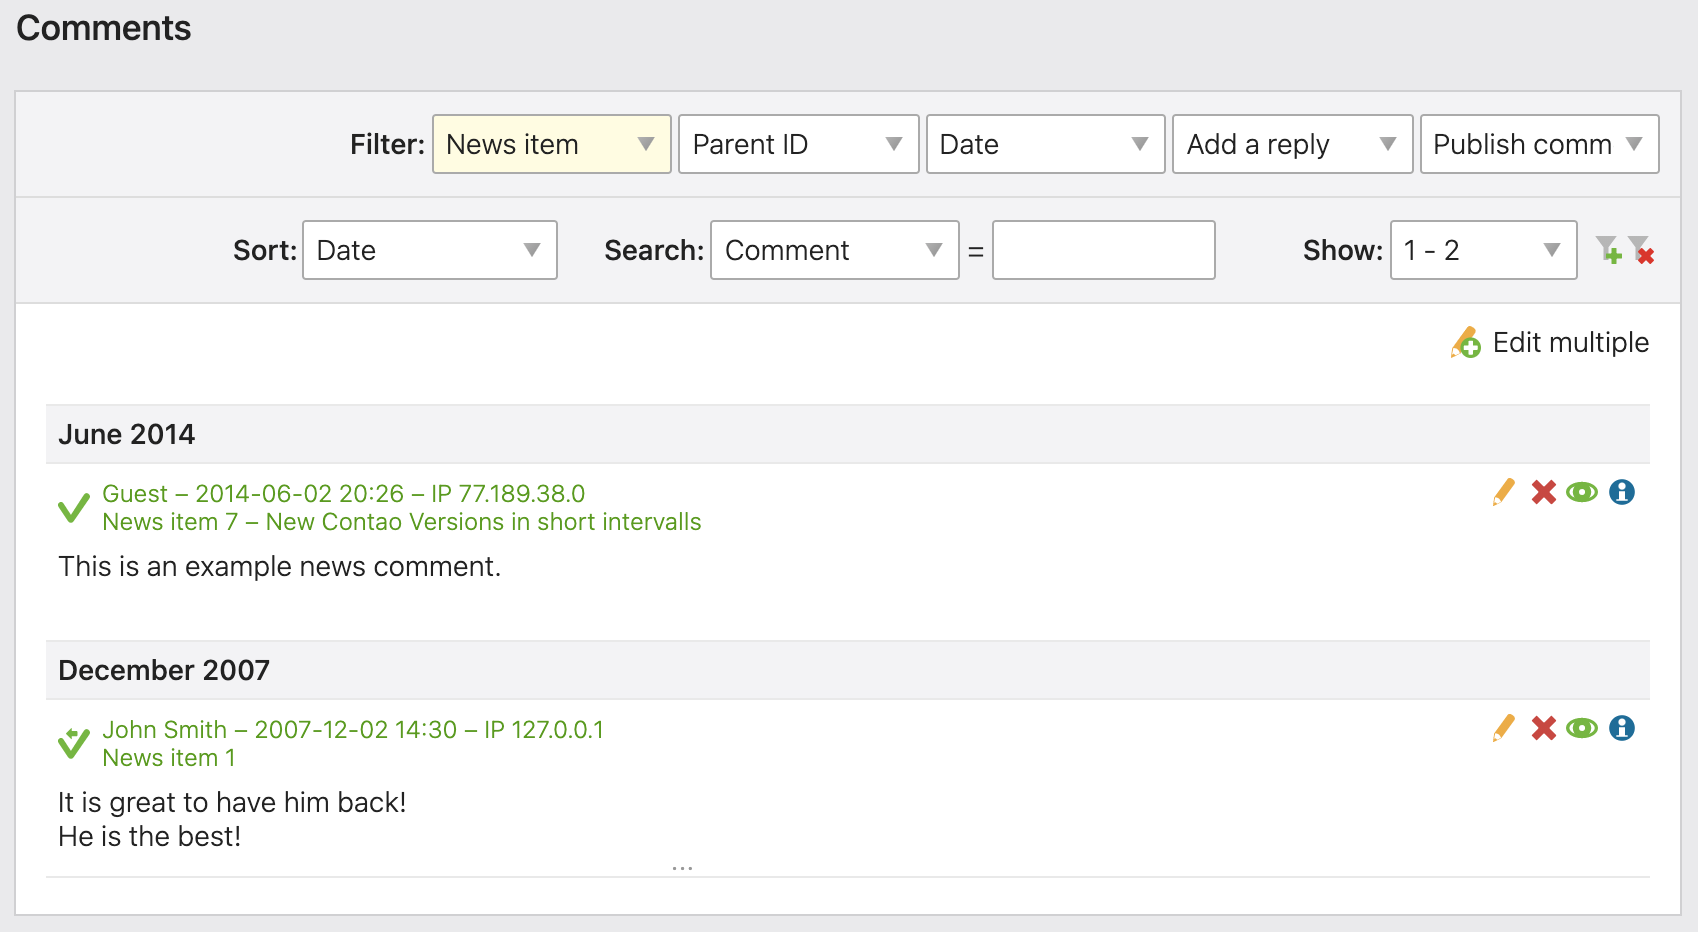
If you have enabled the “Moderate comments” option, you can check and approve new comments in the comment manager before they appear on the website. This will help you to prevent spam attempts, for example.
Custom Template
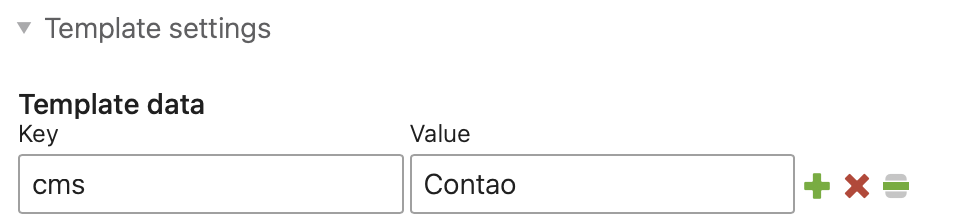
The content element »Custom template« offers the possibility to select a template and to define individual placeholders which can be used.
Template settings
Template data: Specification of one or more key/value pairs.
Content element template: Here you can overwrite the default template ce_template or content_element/template.
HTML output
The default template generates the following HTML code:
<dl>
  <dt>Key</dt>
  <dd>Value</dd>
</dl>
The “Template data” set in the content element are available in the keys array:
An example for <?= $this->keys['cms'] ?> using PHP templates
An example for {{ keys.cms }} using Twig templates
Article teaser
The content element “Article teaser” adds the teaser text of another article to the article, followed by a read more link. Clicking on this link will take you directly to the linked article.
Include settings
Article: Here you select the original article.
Template settings
Content element template: Here you can overwrite the content element ce_teaser or content_element/teaser
template.