Install Contao
After you have checked all requirements and set up your web server, you can now start the installation.
There are two ways to install Contao on your server, using the graphical user interface of the ContaoManager or using the command line.
Installation with the Contao Manager
Install Contao Manager
Before you can install Contao on your server, you need to install and configure the Contao Manager.
Installing Contao with the Contao Manager
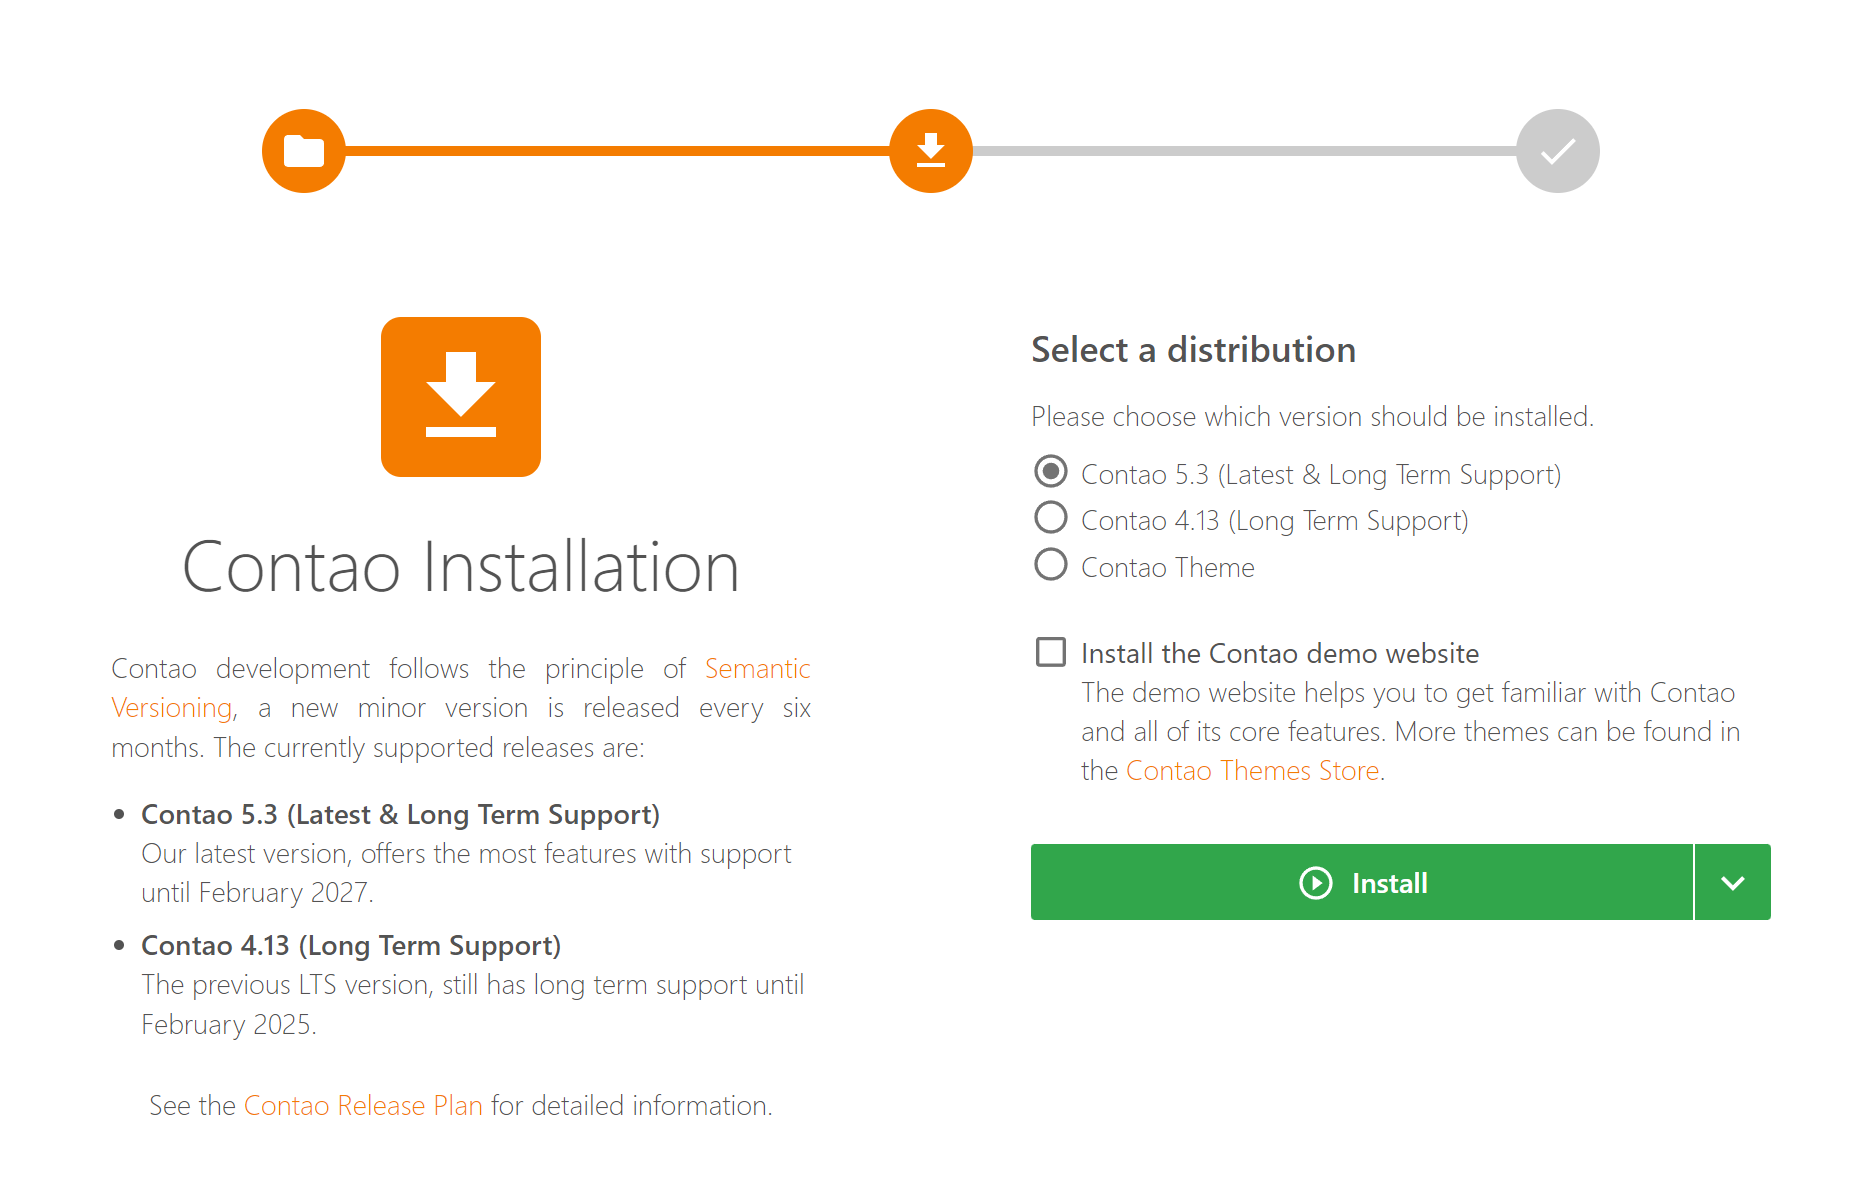
After the successful basic configuration, you can now install Contao. Select the desired version and the initial configuration and click the “Install” button.
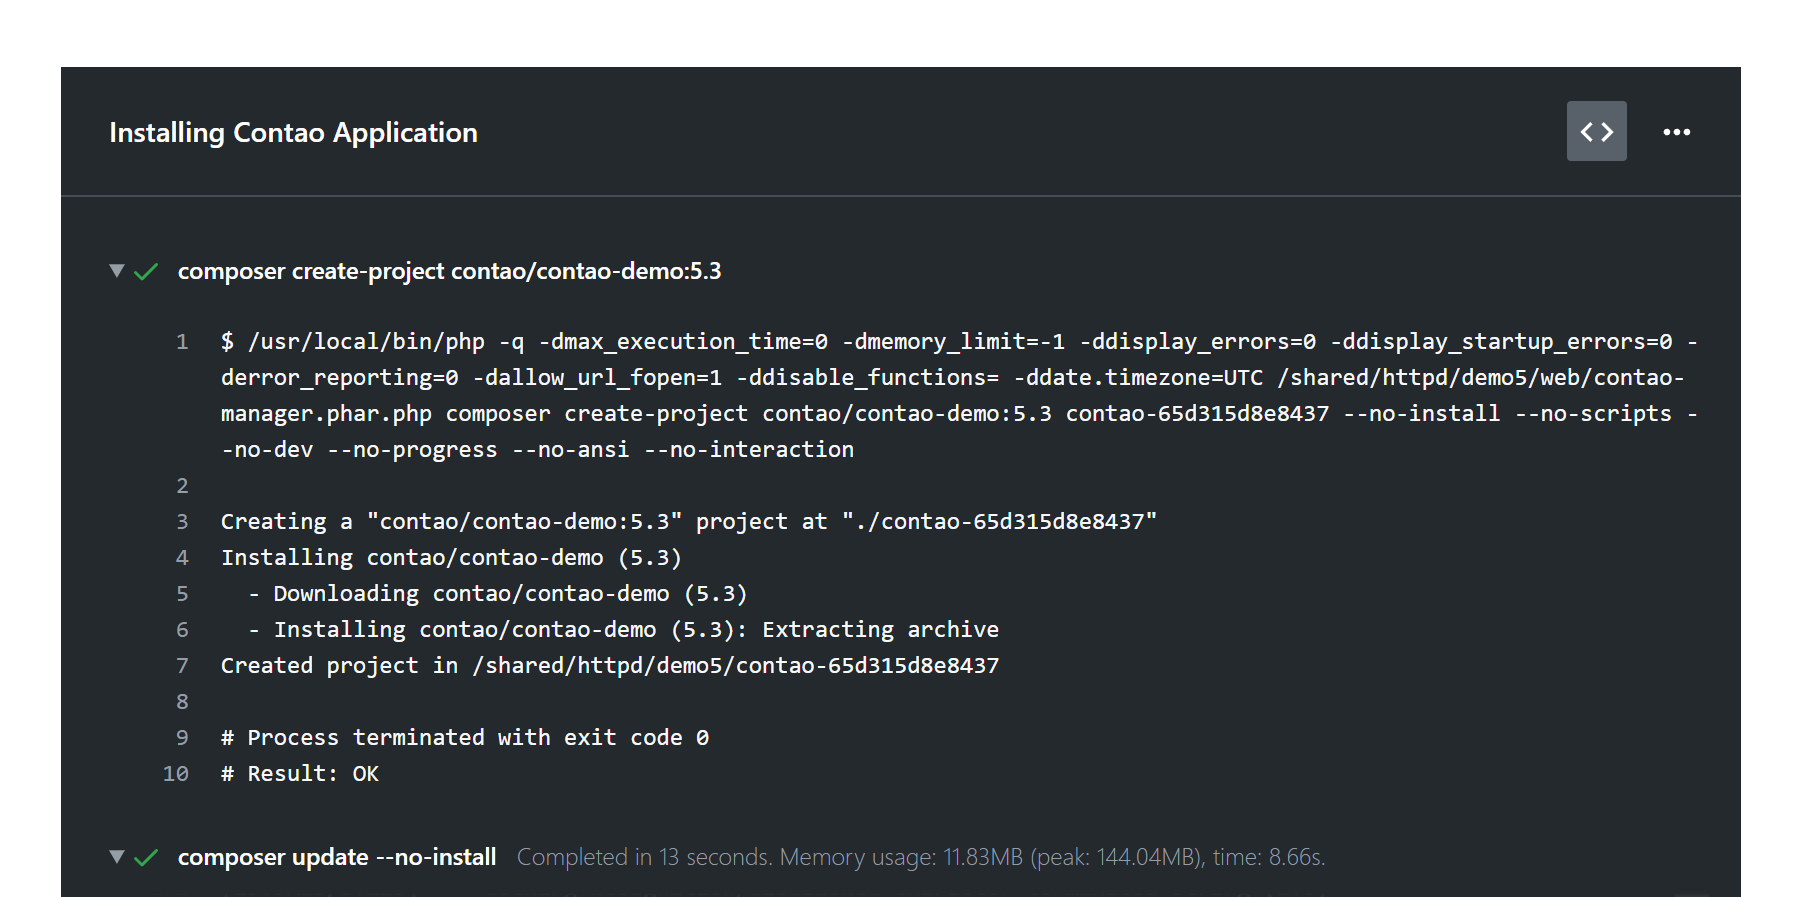
The installation can now take several minutes. Details about the installation process can be displayed by clicking the
following icon![]() .
.
Update database tables
Once the Contao Manager has installed all packages, you have to run the Contao install tool to update the database.
Installation via the command line
When installing from the command line via create-project, a composer update command is executed during the
installation. This will cause some hosters not to be able to terminate the process due to high system load, and the
installation will fail. In this case you should use the Contao Manager.
You have logged on to your server with your user name and domain.
ssh user@example.com
Change to the public directory of your web hosting.
cd www
Install Composer
Composer is an application-oriented package manager for the PHP programming language and installs dependencies.
You can either install Composer locally or globally.
If you install Composer locally, you will have a composer.phar file in your working directory (i.e. where your project’s
composer.json and composer.lock files are located). You would then call Composer with php composer.phar.
If you install Composer globally, you can use the composer command in any directory.
Installing Contao from the command line
In the second step, you install Contao using the Composer. “example” stands for the desired installation directory and 4.11 for the version of Contao you want to install.
php composer.phar create-project contao/managed-edition example 4.11
Hosting Configuration
In Contao, all publicly accessible files are located in the subfolder /web of the installation. Create this folder and
use the admin panel of your hosting provider to set the document root of the installation to this subfolder and create
a database on this occasion.
Example: example.compoints to the directory /www/example/web
(since 4.12 Following the Symfony standard, the public subfolder of /web has been renamed to
/public. If there is a /web directory in your installation, Contao will automatically use it instead of /public).
Every Contao installation therefore requires its own (sub)domain.
Update database tables
After installation, you can update the database using the Contao install tool.
Since Contao 4.9 you can use the following command on the command line:
php vendor/bin/contao-console contao:migrate
You can also create a database beforehand on the command line:
php vendor/bin/contao-console doctrine:database:create
Contao needs to know the corresponding connection data for your database. This information can either be retrieved via
an existing “config/parameters.yml” (currently installed using the Contao-Install tool)
or via a “.env” file
in the root directory of your installation.
For details on the necessary environment variables (DATABASE_URL
and APP_SECRET) in a “.env” file you can find
here.
Creating Contao back end users
Using the Contao-Installtool, you can create your back end user. Since Contao 4.10 you can use the following command on the command line:
php vendor/bin/contao-console contao:user:create